

If you searched for the right oil temperature to fry chicken, here’s the short version before we get into the how and the why. Keep the oil between 325°F / 163°C and 350°F / 177°C during the actual fry, preheat higher so the drop from cold chicken lands you in range, and pull each piece at 160°F internal so carryover finishes it at the USDA-safe 165°F.
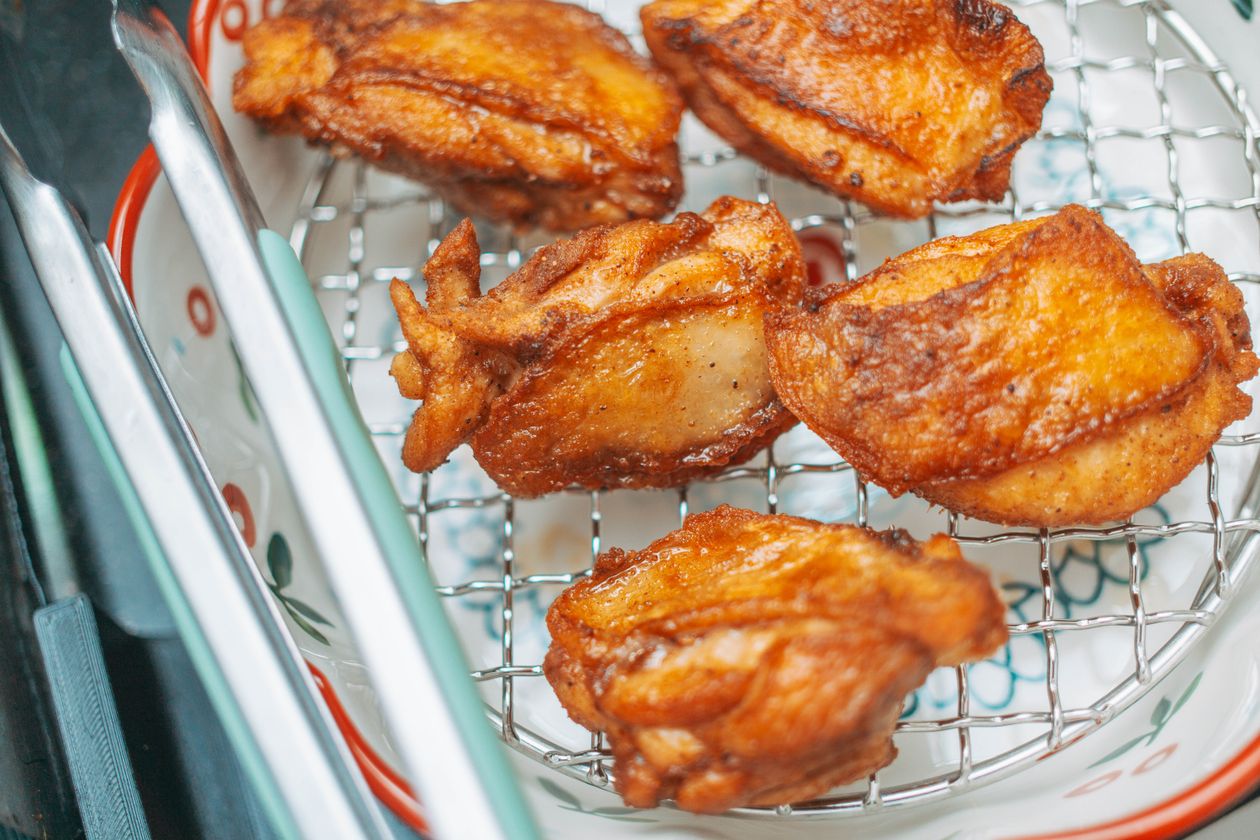
The active frying window is 325°F to 350°F (163°C to 177°C). Preheat the oil higher to 360°F to 375°F because the moment you add cold chicken it drops about 25°F. Pull the meat at 160°F / 71°C internal for breast, 170°F / 77°C for thighs and drumsticks, then rest 5 minutes so carryover carries it past the USDA-safe 165°F / 74°C.
Jump to a section
- The right oil temperature (with reference chart)
- Best temperature by chicken cut
- Why this range works (the food science)
- Best oil for frying chicken (smoke points)
- How to keep the oil temperature stable
- Troubleshooting when the temperature is wrong
- Ingredients
- The full recipe (brine, dredge, fry)
- Recipe variations
- Storage, reheating, reusing oil
- FAQ
The right oil temperature for fried chicken
Every serious test kitchen lands on the same narrow band: the oil should sit between 325°F and 350°F during the actual cook. Below 325°F the chicken absorbs oil like a sponge and turns greasy. Above 350°F the crust burns before the interior finishes. ThermoWorks recommends preheating to 350°F and holding 325°F once the meat is in.
| Stage | Temperature | What to do |
|---|---|---|
| Preheat | 360°F to 375°F | Ready to receive the chicken |
| Active fry | 325°F to 350°F | Hold here for the whole cook |
| Recovery | 325°F+ | Wait about 2 min between batches |
| Minimum | Never below 300°F | Chicken turns greasy fast |
| Maximum | Never above 400°F | Crust burns, meat stays raw |
The point that trips home cooks up isn’t the target number. It’s forgetting that cold chicken crashes the oil by roughly 25°F the moment it touches down. That’s why the preheat number is higher than the frying number. Miss that gap and you’re frying at 300°F without realizing it.
Best oil temperature by chicken cut
Different cuts need different times at the same oil temperature. Bone-in dark meat takes the longest because bone conducts heat inward slowly and the muscle carries more connective tissue. Boneless breast finishes fast and dries out if you overshoot. Wings forgive temperature drift because their small mass cooks through before things go wrong.
| Cut | Fry time (both sides) | Pull at | Final after rest |
|---|---|---|---|
| Bone-in thigh | 13 to 15 min | 170°F / 77°C | 175°F / 79°C |
| Drumstick | 12 to 14 min | 170°F / 77°C | 175°F / 79°C |
| Bone-in breast | 15 to 18 min | 160°F / 71°C | 165°F / 74°C |
| Boneless breast / tender | 6 to 8 min | 160°F / 71°C | 165°F / 74°C |
| Wings (whole) | 10 to 12 min | 170°F / 77°C | 175°F / 79°C |
For cut-specific deep dives, see my dedicated guides on fried chicken wings and chicken drumsticks recipe, both of which use the same 325°F to 350°F frying window applied to a single cut at a time.
Why this range works (the food science)
Three physical reactions happen at once when chicken hits hot oil, and each one depends on temperature. Understanding this is what separates the cooks who get consistent crust from the ones who keep guessing.
Water flash-boils and creates a barrier. The moment cold chicken enters 350°F oil, the surface water turns to steam and rushes outward. That outward pressure blocks oil from moving inward, which is why properly-fried chicken isn’t drenched in grease. Drop below 300°F and the water evaporates too slowly, giving oil time to seep in. Published frying absorption research shows chicken can pick up 7% to 12% of its weight in oil under sub-optimal conditions.
The Maillard reaction browns the crust. This is the chemistry behind that deep golden color and roasted flavor. The reaction starts around 285°F (140°C) but only hits full efficiency between 330°F and 390°F (165°C to 200°C), which is exactly the window we want the oil in. Fry at 300°F and the skin stays pale and doughy because the reaction is barely running.
Starch in the coating gelatinizes and dehydrates. The dredge of flour and starch swells with moisture from the brine, then dries in the hot oil into a rigid crust. This needs sustained heat above 300°F. Any dip below and the coating turns pasty.
Best oil for frying chicken (smoke points compared)
Every oil has a smoke point, the temperature where it starts breaking down and releasing acrid, harmful compounds. For frying chicken you want at least a 100°F buffer above your 350°F target. That means the oil’s smoke point should be 450°F or higher, which knocks out butter, olive oil, and every unrefined oil.
| Oil | Smoke point | Verdict for fried chicken |
|---|---|---|
| Butter | 302°F / 150°C | Never. Smokes at the first touch of chicken. |
| Extra virgin olive | 375°F / 191°C | Skip. Too low, plus expensive. |
| Vegetable | 400°F / 204°C | Fine at the low end of the window. |
| Canola (refined) | 400 to 475°F | Solid budget pick. |
| Peanut (refined) | 450°F / 232°C | Classic choice. Neutral flavor, reusable. |
| Avocado (refined) | 520°F / 271°C | Premium. Higher cost, faint grassy note. |
How to keep the oil temperature stable
Visual and auditory cues will lie to you. Oil at 300°F and oil at 350°F look and sound identical, but they produce completely different chicken. A clip-on probe thermometer is a $15 tool that removes all the guesswork.
Use a heavy vessel
Cast iron and enameled Dutch ovens hold heat through the temperature crash when chicken enters. Thin stainless-steel pots swing wildly and force you to chase the dial all night. A 5- to 7-quart Dutch oven is right for a home batch.
Fry in small batches
Three or four pieces at a time is the ceiling for most home pots. Overcrowding drops the oil past 300°F and the greasy-chicken problem cascades from there. Yes it takes longer. Yes it’s worth it.
Bring the chicken to room temperature
Twenty to thirty minutes on the counter before frying reduces the initial oil crash by 5°F to 10°F. Not mandatory, but helpful.
Adjust the burner in advance
The burner responds slowly. If you wait for the thermometer to show 300°F before turning up the heat, you’ll overshoot by the time the burner catches up. Nudge the flame up as soon as you see the oil starting to slide.
Troubleshooting when the temperature is wrong
Three failure modes cover almost every fried chicken disaster. Diagnose fast and you can rescue most batches mid-cook.
Ingredients
Chicken & brine
- 3 to 3.5 lb bone-in, skin-on chicken (thighs + drumsticks)
- 2 cups buttermilk
- 1 tbsp kosher salt
- 1 tbsp hot sauce (Frank’s or Crystal)
- 1 tsp black pepper
Seasoned dredge
- 2 cups all-purpose flour
- ½ cup cornstarch
- 2 tsp kosher salt
- 2 tsp black pepper
- 1 tsp garlic powder
- 1 tsp onion powder
- 1 tsp smoked paprika
- 1 tsp cayenne (optional)
- ½ tsp baking powder
- 3 tbsp of the brine (drizzled in)
For frying
- 5 to 6 cups refined peanut oil
- Probe thermometer clipped to pot
- Wire rack + baking sheet
- Tongs (long)
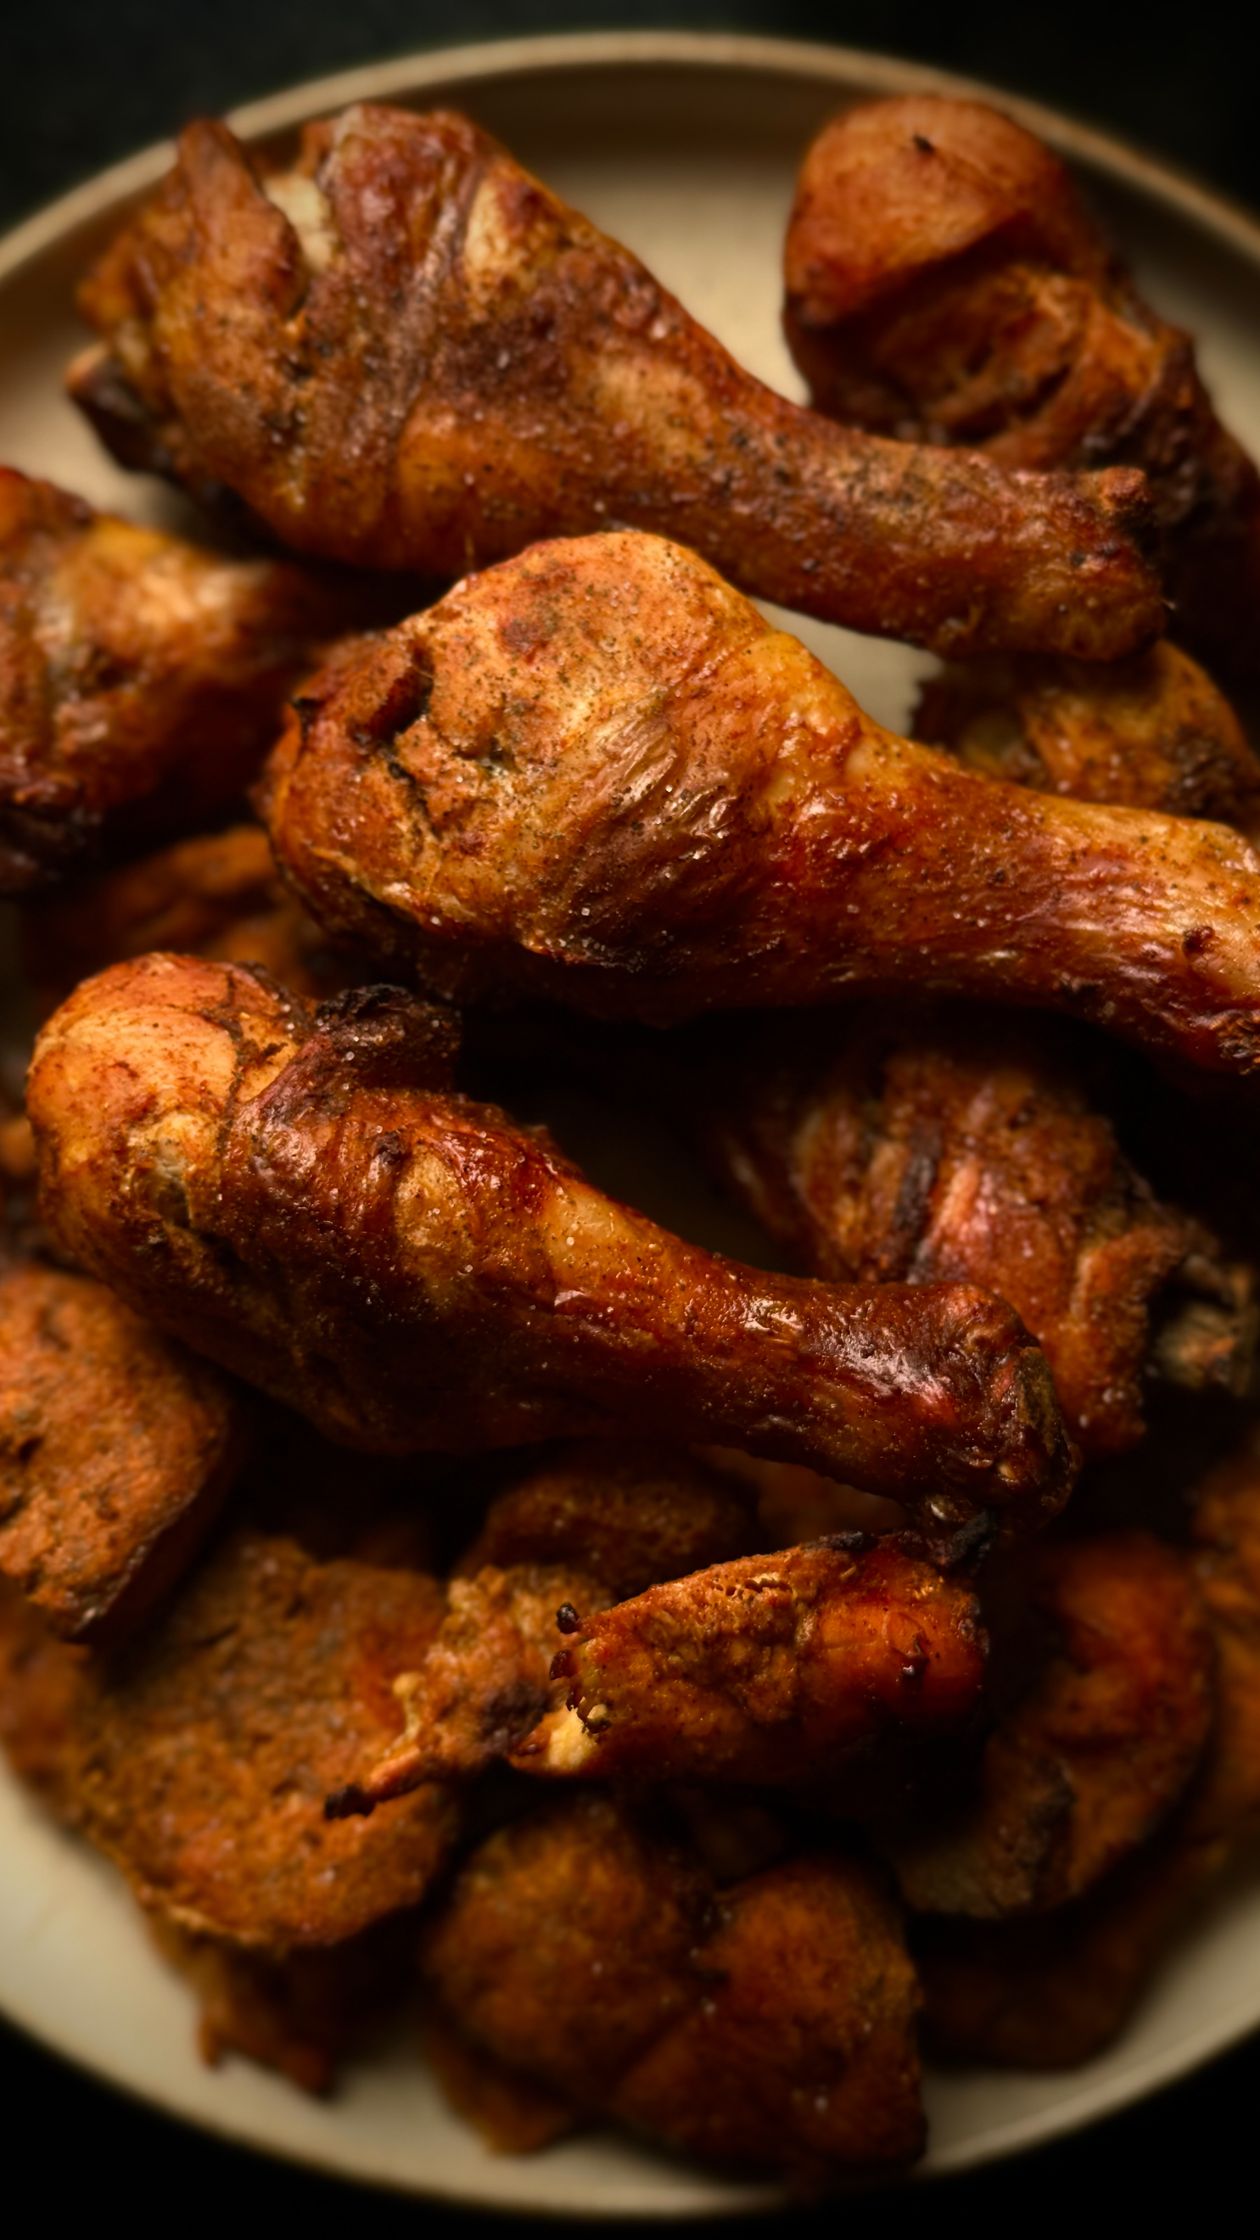
The full recipe (brine, dredge, fry)
This is the recipe I’ve cooked more than any other. Buttermilk brine for tenderness, a textured double dredge for the crackly crust, and the temperature window from the tables above.
- Brine overnightWhisk buttermilk, salt, hot sauce, and pepper in a large bowl. Submerge the chicken, cover, and refrigerate 8 to 12 hours (4 hours minimum). The lactic acid tenderizes the muscle and lets salt penetrate all the way through.
- Set up the dredgeCombine flour, cornstarch, salt, pepper, garlic powder, onion powder, paprika, cayenne, and baking powder in a shallow dish. Drizzle 3 tbsp of the brine over the flour and toss with your fingers to create small clumps. Those clumps become the craggy bits of crust.
- Coat each pieceLift chicken from the brine, let excess drip off, then press firmly into the dredge, turning to coat every surface. Set on a wire rack while the oil heats. Do not skip the wire rack step, sitting on a plate makes the underside soggy before it even hits the oil.
- Heat the oil to 375°FUse a heavy Dutch oven with the thermometer clipped to the side. This takes 10 to 12 minutes on medium-high. Verify the actual number, don’t trust the dial.
- Fry in batches of 3 to 4 piecesSlide chicken in skin-side down. The oil drops to about 325°F. Adjust the burner to hold that range for the whole cook. Do not touch the chicken for the first 4 minutes, that’s when the crust sets and releases from the pan.
- Cook 13 to 15 minutes for dark meatFlip halfway. Pull each thigh and drumstick at 170°F / 77°C internal, breast at 160°F / 71°C. Between batches wait 2 minutes for the oil to recover.
- Rest on a wire rackNot on paper towels, which trap steam and soften the crust. Let sit 5 minutes. Carryover brings dark meat to 175°F and breast to the USDA-safe 165°F.
Recipe variations
Nashville hot
Right after frying, whisk ½ cup of hot frying oil with 3 tbsp cayenne, 1 tbsp brown sugar, 1 tsp garlic powder, and ½ tsp smoked paprika. Brush over the chicken. Serve on white bread with dill pickles.
Air fryer
Preheat to 400°F, spray coated chicken generously with oil, cook 22 to 25 minutes flipping halfway. Crust won’t match deep-fried, but oil absorption drops to nearly zero. See my picks for the best air fryer for crispy chicken.
Korean double fry
Fry at 325°F for 8 minutes, rest 5 minutes, then re-fry at 375°F for 3 minutes. The second fry drives out residual moisture and creates the ultra-thin, glassy crust.
Keto low-carb
Replace flour and cornstarch with 2 cups crushed pork rinds and ¼ cup grated parmesan. Skip the baking powder. Fry at 325°F only, pork rinds burn easily.
Storage, reheating, reusing the oil
Nutritional information per piece
| Calories | 500 kcal |
| Protein | 39 g |
| Fat | 24 g |
| Carbohydrates | 28 g |
| Sodium | 720 mg |
FAQ
What is the ideal oil temperature for frying chicken?
The active frying window is 325°F to 350°F (163°C to 177°C). Preheat higher to 360°F to 375°F because cold chicken drops the oil temperature by roughly 25°F when it enters. Below 325°F the chicken absorbs oil and turns greasy; above 350°F the crust burns before the interior cooks through.
How do I keep the oil temperature stable?
Use a heavy vessel like cast iron or a Dutch oven, clip a probe thermometer to the side of the pot, and fry only 3 to 4 pieces at a time. Overcrowding is the single biggest cause of temperature crashes in home kitchens.
Can I reuse the frying oil?
Yes, up to three additional sessions. Cool the oil completely, strain through cheesecloth, and store in a sealed jar in a dark cabinet. Toss it when the color turns dark brown, it foams while heating, or it smells rancid.
What’s the best oil for frying chicken?
Refined peanut oil is the classic pick: neutral flavor, 450°F smoke point, and predictable behavior. Refined avocado oil (520°F) is the premium alternative. Vegetable and canola oil work at the low end. Avoid butter, extra virgin olive oil, and any unrefined oil.
Why does my fried chicken turn out greasy?
The oil was too cool when the chicken entered, below 300°F. At that temperature surface water evaporates too slowly, so oil moves inward instead of steam moving outward. Fix it by preheating to 375°F, frying smaller batches, and letting the oil recover fully between batches.
Do I really need a thermometer?
Yes. Oil at 300°F and 350°F look and sound identical to the eye and ear, but they produce completely different chicken. A clip-on probe thermometer is a $15 tool that removes the guesswork.
What internal temperature should the chicken reach?
The USDA sets 165°F as the safe minimum for all poultry. Pull dark meat at 170°F and rest to 175°F for silky texture. Pull breast at 160°F and let carryover bring it to 165°F to keep it juicy.

Temp Oil Fried Chicken – Crispy & Juicy Fried Chicken Recipe
Crispy fried chicken with a crackly crust, cooked in the 325°F to 350°F oil window.
- 3 to 3.5 lb lb bone-in, skin-on chicken (thighs + drumsticks)
- 2 cups cups buttermilk
- 1 tbsp tbsp kosher salt
- 1 tbsp tbsp hot sauce (Frank's or Crystal)
- 1 tsp tsp black pepper
- 2 cups cups all-purpose flour
- ½ cup cup cornstarch
- 2 tsp tsp kosher salt
- 2 tsp tsp black pepper
- 1 tsp tsp garlic powder
- 1 tsp tsp onion powder
- 1 tsp tsp smoked paprika
- 1 tsp tsp cayenne (optional)
- ½ tsp tsp baking powder
- 3 tbsp tbsp brine
- 5 to 6 cups cups refined peanut oil
- probe thermometer
- wire rack + baking sheet
- tongs (long)
Brine overnight
Whisk buttermilk, salt, hot sauce, and pepper in a large bowl. Submerge the chicken, cover, and refrigerate 8 to 12 hours (4 hours minimum).
Set up the dredge
Combine flour, cornstarch, salt, pepper, garlic powder, onion powder, paprika, cayenne, and baking powder in a shallow dish. Drizzle 3 tbsp of the brine over the flour and toss with your fingers to create small clumps.
Coat each piece
Lift chicken from the brine, let excess drip off, then press firmly into the dredge, turning to coat every surface. Set on a wire rack while the oil heats.
Heat the oil to 375°F
Use a heavy Dutch oven with the thermometer clipped to the side of the pot. This takes 10 to 12 minutes on medium-high. Verify the actual number, don't trust the dial.
Fry in batches of 3 to 4 pieces
Slide chicken in skin-side down. The oil drops to about 325°F. Adjust the burner to hold that range for the whole cook. Do not touch the chicken for the first 4 minutes, that's when the crust sets and releases from the pan.
Cook 13 to 15 minutes for dark meat
Flip halfway. Pull each thigh and drumstick at 170°F / 77°C internal, breast at 160°F / 71°C. Between batches wait 2 minutes for the oil to recover.
Rest on a wire rack
Not on paper towels, which trap steam and soften the crust. Let sit 5 minutes. Carryover brings dark meat to 175°F and breast to the USDA-safe 165°F.
- Dutch oven
- Thermometer
- Wire rack
- Tongs
For the best results, use a thermometer to maintain the oil temperature between 325°F and 350°F.
Did You Try Our Recipe ?
Chicken hears and gizzards
I would love you to send me the recipe please. I have no printer to print it off. [email protected]
Response from MeatRecipesBox
Hi Sharon, thank you so much for your kind words! I’ve just sent the full recipe to your inbox. Enjoy, and let me know how it turns out! 😊
Scrumptious
My husband (who is extremely picky) loved the liver & onions so much!! I didn’t have any beef broth or Sherry so I used about a tbl of Worcestershire and 1/4 c of white wine …..it was scrumptious
Response from MeatRecipesBox
Oh wow, I’m so happy to hear that!! 😍 I love that you made it work with what you had on hand — Worcestershire and white wine sound like a delicious twist. So glad your husband enjoyed it, especially being picky! Thank you for sharing your version, it makes me smile knowing it turned out scrumptious!
This was amazing
This recipe turned out really amazing! It’s juicy and spiced deliciously. I definitely would use less of the spicy pepper next time, but it really was delicious and I don’t think I’ll make chicken legs any other way from now on.!
Response from MeatRecipesBox
Thank you for taking the time to leave such a thoughtful review. I’m really glad to hear the recipe turned out juicy and full of flavor for you. That’s exactly what I was hoping for when putting it together. Good call on the spicy pepper as well. Adjusting the heat level to your own taste is always the best approach, and using a little less next time should make it just right for you. I really appreciate you trying the recipe and sharing your experience. It’s great to know it worked so well for you.
I Didn’t Expect This Cornbeef Hash Recipe to Taste This Good!!
One skillet. A handful of simple ingredients. Thirty minutes on the clock. And somehow… I ended up with the crispiest, most comforting cornbeef hash recipe I’ve made in years.
I wasn’t expecting much—just a quick, no-fuss meal. But that first bite? Crispy edges, tender potatoes, smoky corned beef, a little kick of pepper. It tasted like something straight off a cozy diner griddle.
Honestly, it caught me off guard—in the best way. Here’s why this simple skillet completely won me over.


