

Boneless beef short ribs turn from tough into fork-tender through one thing only: a long, slow braise that melts the collagen inside the meat. Get the method right and the cut becomes silky and rich; rush it and you end up with dry, chewy chunks swimming in thin sauce.
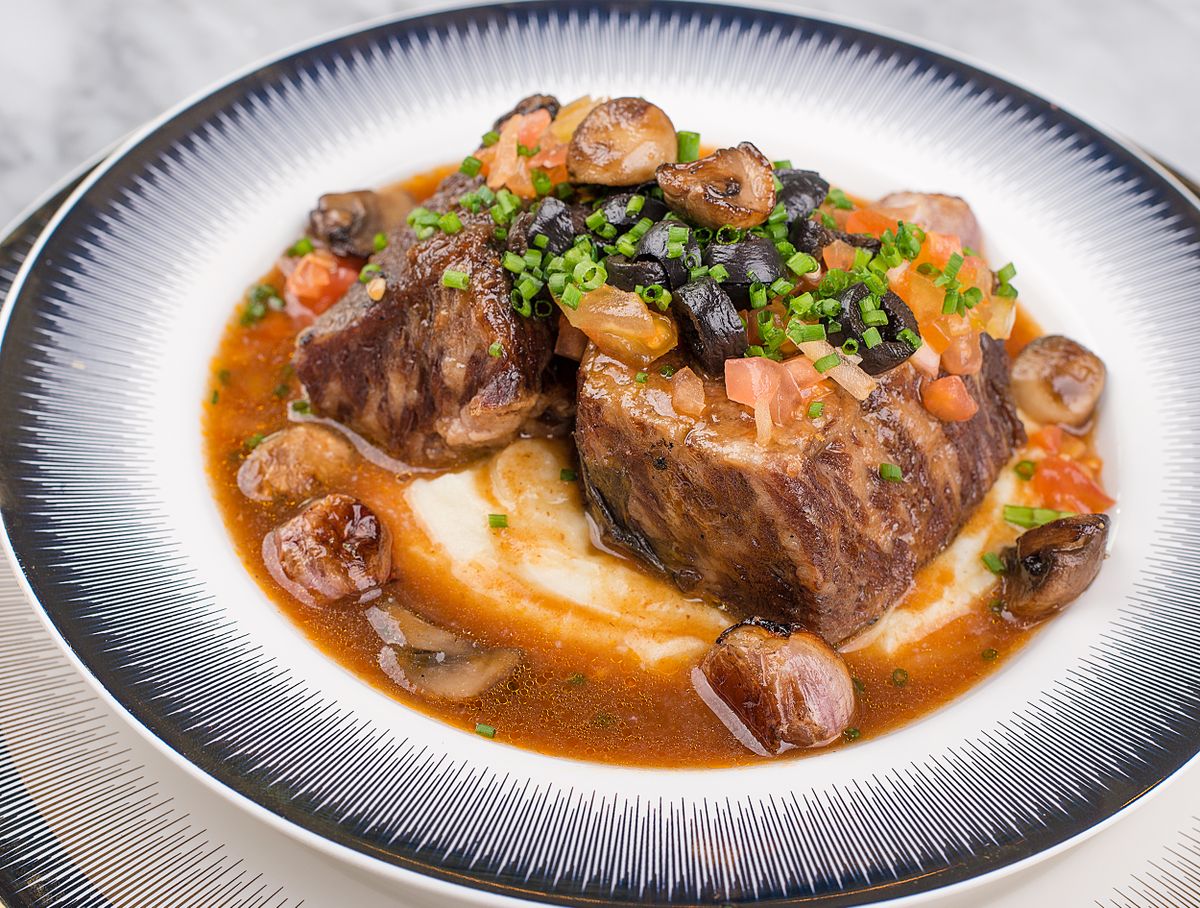
What most home cooks miss is that boneless short ribs aren’t ribs at all — they’re deeply marbled chuck cut into rib-shaped strips, sold as an economy version of the bone-in cut. That marbling is the whole reason the recipe works. As it renders during the braise, it bastes the meat from the inside while the connective tissue breaks down around it.
Ingredients (Both Methods Use the Same List)
For the ribs and sauce
- 2 lbs boneless beef short ribs
- 1 tbsp neutral oil (canola or grapeseed)
- 1½ tsp kosher salt
- ½ tsp black pepper
- 1 yellow onion, diced
- 3 garlic cloves, minced
- 2 tbsp tomato paste
- 1 cup beef broth (low sodium)
- ½ cup dry red wine
- 1 tbsp Worcestershire sauce
- 1 tsp smoked paprika
- 2 thyme sprigs (or 1 tsp dried)
- 2 carrots, cut in chunks
- 1 bay leaf
Dutch Oven Method — Step by Step
This is the signature version. The searing step and the covered oven braise together give the deepest color and the most concentrated sauce.
- Heat and dry. Preheat the oven to 325°F / 165°C. Pat the ribs dry with paper towels on all sides — surface moisture is what stops browning cold.
- Season and sear. Salt and pepper the ribs, then sear in oil over medium-high heat for 2–3 minutes per side. Work in two batches so the pot never crowds. You want a deep mahogany crust, not steam.
- Build the base. Lift the ribs out. Add the onion to the same pot, cook 3 minutes, then stir in garlic, tomato paste, and smoked paprika. Cook 90 seconds — you’re toasting the tomato paste until it turns brick red.
- Deglaze. Pour in the red wine and scrape every browned bit off the bottom with a wooden spoon. Let it reduce by half, roughly 2 minutes.
- Add liquid and return the meat. Stir in broth, Worcestershire, thyme, bay leaf, and carrots. Nestle the ribs back in — the liquid should reach halfway up their sides, no higher (a full submersion boils rather than braises).
- Cover and braise. Lid on, transfer to the oven. Cook 2½–3 hours, checking at 2½. The ribs are done when a fork twists in the thickest piece with no pull-back.
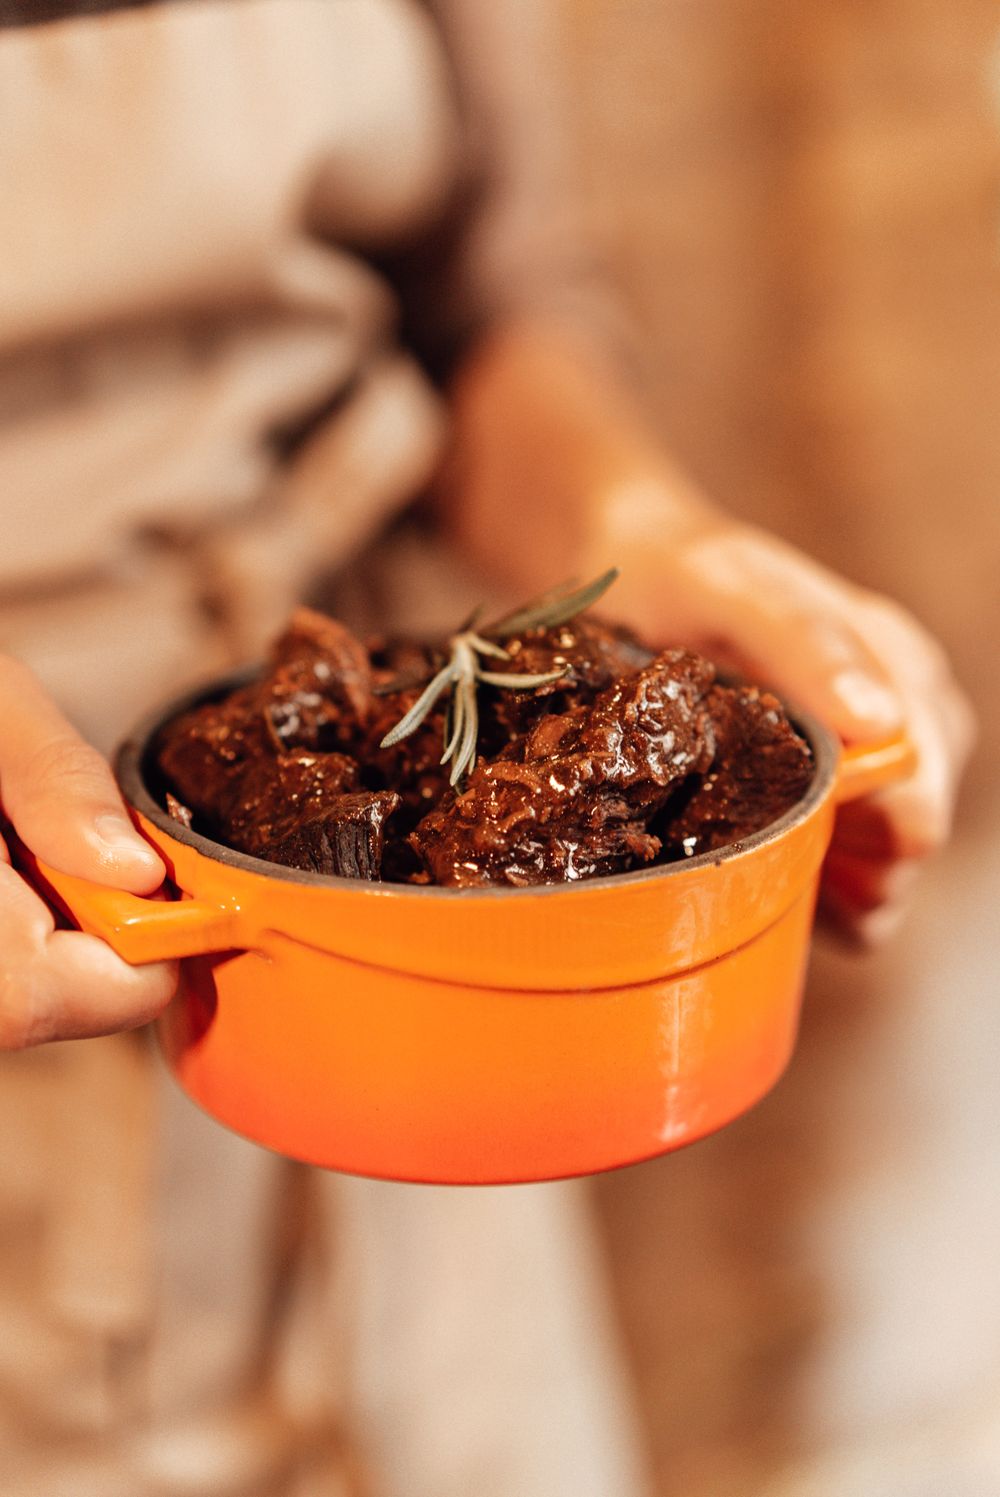
Slow Cooker Method — Same Ingredients, Longer Timeline
Use this route on a workday when you want dinner waiting for you. The searing step is not optional — skip it and the sauce tastes flat and pale by hour eight.
- Sear on the stovetop. Do steps 1–4 above in a skillet, exactly the same way. Deglaze the pan with wine before it goes cold — that reduced liquid is your flavor payload.
- Transfer. Move ribs, deglazing liquid, broth, Worcestershire, thyme, bay, and carrots into the slow cooker. Onion and garlic go in on top.
- Cook low and slow. Set to LOW for 7–8 hours, or HIGH for 4–5. LOW gives a cleaner texture — the fibers stay in ribbons instead of shredding into strings.
Either method leaves you with the same result: dark, glossy sauce; ribs that hold their shape until you touch them. For a detailed breakdown of oven timing at different rib thicknesses and how to hold ribs at temperature for guests running late, our oven short ribs timing guide covers the variables this recipe treats as fixed.
Watch the Full Dutch Oven Method
If you learn better by watching, this walk-through covers the same sear-deglaze-braise sequence end to end — a useful visual reference for the pot color and sauce consistency you’re aiming for:
How to Know They’re Done (Without Guessing)
Two cues, in order of reliability:
Fork test. Slide a dinner fork straight down into the thickest rib. If it enters and twists with no spring-back, you’re done. If the meat still pushes against the fork, give it another 20 minutes and check again.
Internal temperature. A probe thermometer in the thickest piece should read 195–205°F / 90–96°C. This is well above food-safe territory — you’re cooking for texture, not safety. Pull them at 200°F and rest 10 minutes before serving so the sauce reabsorbs.
Common Mistakes to Avoid
- Crowding the sear. Two batches always. When the pot is packed, released moisture drops the temperature under 300°F and the ribs steam gray instead of browning.
- Too much braising liquid. Above the halfway mark and the ribs poach — the texture goes stringy and the sauce stays thin. Keep it to halfway up their sides.
- Pulling them at 180°F. Ribs that are safely cooked are not yet tender ribs. Collagen needs another 20°F of internal temperature to fully melt.
- Serving straight out of the oven. The 10-minute rest doubles as a reabsorption window. Skip it and the meat loses moisture on the cutting board.
What to Serve With Boneless Short Ribs
The sauce is the star, so pick a side that catches it:
- Buttery mashed potatoes — the classic pairing
- Creamy polenta for a softer texture contrast
- Wide egg noodles to soak up every drop
- Roasted root vegetables for something less starchy
- Crusty sourdough for wiping the pot clean
- Simple bitter greens salad to cut the richness
Storage & Reheating
Short ribs are one of those rare dishes that genuinely improve overnight — the fat solidifies, you skim it off, and the sauce concentrates as it sits.
Fridge: up to 4 days in an airtight container, ribs submerged in the sauce.
Freezer: up to 3 months. Freeze in the sauce, thaw overnight in the fridge.
Reheat: covered pot over medium-low with a splash of broth, 15–20 minutes until the sauce loosens. Microwaving works but the crust softens.
FAQs About Boneless Beef Short Ribs
Are boneless short ribs actually ribs?
No. They’re cut from the chuck (shoulder) or plate — sliced into rib-shaped strips to sell as an economy alternative to bone-in ribs. Same braise behavior, no bone marrow flavor. If you want that beefy chuck angle in a different dish, the same cut works in our chuck steak preparation guide.
Why are my boneless beef short ribs still tough after 2 hours?
The internal temperature hasn’t reached the collagen-melt window (195–205°F / 90–96°C) yet. Cover them, put them back in the oven, and check every 20 minutes. Braised meat gets more tender the longer it sits above 190°F, not tougher — you cannot really overshoot on the low end.
Can I braise boneless short ribs on the stovetop instead of the oven?
Yes. Bring to a simmer, cover, and hold at the lowest possible bubble for 2½ hours. The oven wins because it heats from all sides at once — stovetop needs occasional stirring to prevent the bottom from scorching.
Do I really need to sear before braising?
The sear is what separates a rich dark sauce from a pale beef stew. The browned crust dissolves into the liquid during the braise, carrying Maillard flavor compounds that never form at braising temperatures. Skip it only if you’re truly out of time.
Can I make boneless short ribs a day ahead?
Yes, and they’re better for it. Braise the day before, cool, refrigerate overnight. The fat rises and solidifies — lift it off, reheat covered at 300°F for 25 minutes, and the sauce will be cleaner and the meat firmer without losing tenderness.
Loved this recipe? Pin it so you can find it again on your next slow Sunday.
Did You Try Our Recipe ?
Chicken hears and gizzards
I would love you to send me the recipe please. I have no printer to print it off. [email protected]
Response from MeatRecipesBox
Hi Sharon, thank you so much for your kind words! I’ve just sent the full recipe to your inbox. Enjoy, and let me know how it turns out! 😊
Scrumptious
My husband (who is extremely picky) loved the liver & onions so much!! I didn’t have any beef broth or Sherry so I used about a tbl of Worcestershire and 1/4 c of white wine …..it was scrumptious
Response from MeatRecipesBox
Oh wow, I’m so happy to hear that!! 😍 I love that you made it work with what you had on hand — Worcestershire and white wine sound like a delicious twist. So glad your husband enjoyed it, especially being picky! Thank you for sharing your version, it makes me smile knowing it turned out scrumptious!
This was amazing
This recipe turned out really amazing! It’s juicy and spiced deliciously. I definitely would use less of the spicy pepper next time, but it really was delicious and I don’t think I’ll make chicken legs any other way from now on.!
Response from MeatRecipesBox
Thank you for taking the time to leave such a thoughtful review. I’m really glad to hear the recipe turned out juicy and full of flavor for you. That’s exactly what I was hoping for when putting it together. Good call on the spicy pepper as well. Adjusting the heat level to your own taste is always the best approach, and using a little less next time should make it just right for you. I really appreciate you trying the recipe and sharing your experience. It’s great to know it worked so well for you.
I Didn’t Expect This Cornbeef Hash Recipe to Taste This Good!!
One skillet. A handful of simple ingredients. Thirty minutes on the clock. And somehow… I ended up with the crispiest, most comforting cornbeef hash recipe I’ve made in years.
I wasn’t expecting much—just a quick, no-fuss meal. But that first bite? Crispy edges, tender potatoes, smoky corned beef, a little kick of pepper. It tasted like something straight off a cozy diner griddle.
Honestly, it caught me off guard—in the best way. Here’s why this simple skillet completely won me over.
Did You Try Our Recipe ?
Chicken hears and gizzards
I would love you to send me the recipe please. I have no printer to print it off. [email protected]
Response from MeatRecipesBox
Hi Sharon, thank you so much for your kind words! I’ve just sent the full recipe to your inbox. Enjoy, and let me know how it turns out! 😊
Scrumptious
My husband (who is extremely picky) loved the liver & onions so much!! I didn’t have any beef broth or Sherry so I used about a tbl of Worcestershire and 1/4 c of white wine …..it was scrumptious
Response from MeatRecipesBox
Oh wow, I’m so happy to hear that!! 😍 I love that you made it work with what you had on hand — Worcestershire and white wine sound like a delicious twist. So glad your husband enjoyed it, especially being picky! Thank you for sharing your version, it makes me smile knowing it turned out scrumptious!
This was amazing
This recipe turned out really amazing! It’s juicy and spiced deliciously. I definitely would use less of the spicy pepper next time, but it really was delicious and I don’t think I’ll make chicken legs any other way from now on.!
Response from MeatRecipesBox
Thank you for taking the time to leave such a thoughtful review. I’m really glad to hear the recipe turned out juicy and full of flavor for you. That’s exactly what I was hoping for when putting it together. Good call on the spicy pepper as well. Adjusting the heat level to your own taste is always the best approach, and using a little less next time should make it just right for you. I really appreciate you trying the recipe and sharing your experience. It’s great to know it worked so well for you.
I Didn’t Expect This Cornbeef Hash Recipe to Taste This Good!!
One skillet. A handful of simple ingredients. Thirty minutes on the clock. And somehow… I ended up with the crispiest, most comforting cornbeef hash recipe I’ve made in years.
I wasn’t expecting much—just a quick, no-fuss meal. But that first bite? Crispy edges, tender potatoes, smoky corned beef, a little kick of pepper. It tasted like something straight off a cozy diner griddle.
Honestly, it caught me off guard—in the best way. Here’s why this simple skillet completely won me over.


