
Chicken adobo is the national dish of the Philippines — and there’s a good reason it’s the one Filipino dish everyone learns first. It’s a three-step braise built on four core pantry items: soy sauce, vinegar, garlic, and bay leaves. The magic is in the ratio and the order of operations. Get those right and you land on the dish Filipinos actually eat at home: chicken so tender it slides off the bone, sitting in a dark, glossy sauce that’s equal parts tangy, salty, and quietly sweet. This guide walks through the classic Luzon method, plus the regional variations (adobo sa gata, adobong dilaw, adobo with eggs) that show why every Filipino household argues theirs is the real one.
The short answer: Marinate bone-in chicken thighs in soy sauce, vinegar, garlic, bay leaves, and peppercorns for at least an hour. Sear the chicken, then simmer everything together for 30 minutes — never stir the vinegar until it boils. Reduce the sauce to a glossy glaze at the end. Serve over garlic rice.
What’s in this guide
What Makes Adobo, Adobo
Adobo isn’t really a recipe — it’s a preservation technique that predates Spanish colonization. Filipinos were cooking meat in vinegar long before the word “adobo” (Spanish for “marinade”) was applied to it. The vinegar acidifies the meat enough to keep it safe in a tropical climate; the soy sauce came later, once trade with China brought it to the archipelago.
What you actually need for chicken adobo boils down to five things:
- Soy sauce — salt and umami
- Vinegar — acid, tenderizing, preservation
- Garlic — a lot of it, whole cloves smashed
- Bay leaves — the herbaceous backbone
- Black peppercorns — cracked, not ground
Everything else — brown sugar, coconut milk, potatoes, hard-boiled eggs, chili — is a regional variation or a personal preference. The five ingredients above are the entire dish.
The Filipino Soy Sauce Question
This is the single detail that separates a passable adobo from a great one. Filipino soy sauce (toyo) — brands like Silver Swan or Datu Puti — is thinner, saltier, and less sweet than Japanese soy (Kikkoman) or Chinese light soy. It’s the reference point every Filipino recipe assumes.
You can use whatever’s in your pantry, but you’ll need to adjust:
| Soy sauce type | How to adjust |
|---|---|
| Silver Swan / Datu Puti (Filipino) | Use the recipe as written — this is the baseline. |
| Kikkoman (Japanese) | Reduce by 1 tbsp, add ½ tsp salt at the end if needed. |
| Chinese light soy (生抽) | Reduce by 1 tbsp. Do not use dark soy. |
| Low-sodium soy | Use full amount, add ½ tsp salt at the end. |
| Tamari (gluten-free) | Reduce by 2 tbsp — it’s more concentrated. |
Cane, Coconut, or White Vinegar?
Filipino vinegar is its own category. The two you’ll see most in adobo recipes are:
Cane vinegar (sukang maasim)
Made from fermented sugarcane. Mild, slightly sweet, low acidity (~4%). The most common adobo vinegar. Look for Datu Puti or Marca Piña.
Coconut vinegar (sukang tuba)
Made from coconut sap. Sharper, more complex, slightly funky. Traditional in southern Luzon and Visayas versions. Great choice if you want more depth.
Palm vinegar (sukang paombong)
From nipa palm. Regional to Bulacan. Rare outside the Philippines but exceptional if you find it.
Rice vinegar or apple cider
Best pantry substitute. Rice vinegar is closest to cane vinegar in mildness. Apple cider adds fruit notes — some people prefer it. Skip distilled white vinegar; it’s too harsh.
Best Cut: Bone-In Thighs and Drumsticks
Adobo is a 30-40 minute braise, which rules out chicken breast (dries out) and puts thighs at the top. Bone-in, skin-on thighs are the classic choice — they hold together during the simmer, and the bones release collagen that gives the sauce body. Drumsticks work equally well and are traditional for family-style presentations.
A whole cut-up chicken (mix of thighs, drumsticks, and wings) is how it’s cooked at home in the Philippines. Skip the breast if you’re going that route — or add it only in the last 10 minutes of simmering.
Ingredients You’ll Need
Chicken
- 2.5 lb (1.1 kg) bone-in skin-on chicken thighs and drumsticks
- 2 tbsp neutral oil (for searing)
The braise base
- ½ cup Filipino soy sauce (Silver Swan/Datu Puti)
- ½ cup cane vinegar (or coconut vinegar)
- ¾ cup water
- 1 tbsp brown sugar (optional — adjust to taste)
Aromatics
- 10 garlic cloves, smashed, skins removed
- 4 dried bay leaves
- 2 tsp whole black peppercorns, lightly cracked
- 1 medium yellow onion, sliced (optional)
Optional add-ins
- 4 hard-boiled eggs, peeled (added in the last 10 min)
- 2 medium potatoes, cubed (added with the chicken)
- 1 red chili, split (Bicol-style heat)
- 1 cup coconut milk (for adobo sa gata)
Step-by-Step: How to Cook Chicken Adobo
- Marinate the chicken. In a bowl, combine the chicken with soy sauce, half the smashed garlic, bay leaves, and peppercorns. Toss well. Cover and refrigerate for at least 1 hour, ideally 4 hours. Overnight is even better — the flavor penetration is dramatic.
- Drain and sear. Lift the chicken out of the marinade with tongs, letting the excess drip off. Reserve the marinade — don’t throw it out. Pat the chicken skin dry with paper towels. Heat oil in a heavy pan over medium-high heat. Sear the pieces skin-side down until deeply golden, 5-6 minutes. Flip and sear the other side, 3 more minutes. Do it in batches if the pan is crowded.
- Bloom the garlic. Push the chicken to the sides of the pan (or remove it if the pan is too full). Add the remaining smashed garlic to the rendered chicken fat. Fry until fragrant and just starting to turn gold at the edges, about 45 seconds. Don’t let it burn.
- Add the vinegar — and don’t stir. Pour in the vinegar. Bring to a rolling boil without stirring for a full 2 minutes. This is the most important step in Filipino cooking. Stirring raw vinegar releases a harsh, acrid flavor that never fully cooks off. Boiling it undisturbed lets the harshness evaporate.
- Add the marinade, water, and sugar. Now you can stir. Pour in the reserved marinade, water, and brown sugar (if using). Return all the chicken to the pan. Bring back to a simmer.
- Simmer covered. Reduce heat to medium-low, cover, and simmer for 25 minutes, flipping the chicken once halfway through. The meat is done when it starts pulling away from the bone.
- Reduce the sauce. Uncover the pan. Push the chicken to one side and let the sauce reduce over medium-high heat for 5 to 10 minutes, spooning it over the chicken as it thickens. You want it glossy and just thick enough to coat the back of a spoon — not a full syrup.
- Rest and serve. Turn off the heat and let the pan sit for 5 minutes so the flavors settle. Serve over hot steamed rice (or garlic rice, if you want to be traditional), spooning plenty of sauce over each portion.
▶ Watch: the full technique
Cook Times and the Adobo Ratio
The classic Filipino adobo ratio is 1:1 soy sauce to vinegar, with 1.5 parts water on top. That’s the starting point. Every family adjusts from there.
| Style | Soy : Vinegar : Water | Simmer Time | Character |
|---|---|---|---|
| Classic Luzon | 1 : 1 : 1.5 | 25–30 min | Balanced, most common |
| Vinegar-forward (Ilonggo) | 1 : 1.5 : 1.5 | 30–35 min | Sharp, tangy, brighter |
| Sweet-savory (Manila home-style) | 1 : 1 : 1.5 + 1 tbsp sugar | 25–30 min | Glossy, mildly sweet |
| Sauce-heavy (family-style) | 1 : 1 : 2 | 30–35 min | More sauce for extra rice |
| Dry adobo (adobong tuyo) | 1 : 1 : 0.5 | 40 min uncovered at the end | Almost no sauce, deep flavor |
Regional Variations Worth Knowing
Adobo isn’t one dish — it’s a family of dishes. Every region and every household has its version. Here are the four you’ll see most often:
Adobong Puti (White Adobo)
The pre-Spanish original — no soy sauce, just vinegar, garlic, salt, bay, and peppercorns. Lighter in color, sharper in flavor. This is what adobo tasted like before Chinese trade brought soy to the Philippines.
Adobo sa Gata
Adobo with coconut milk added in the last 10 minutes. Common in Bicol and the Visayas. The coconut mellows the vinegar and turns the sauce silky. Often paired with green chili for heat.
Adobong Dilaw (Yellow Adobo)
Turmeric replaces soy sauce, giving the dish a bright yellow color. Batangas specialty. Cleaner-tasting, almost curry-adjacent. Excellent with coconut rice.
Adobo with Eggs
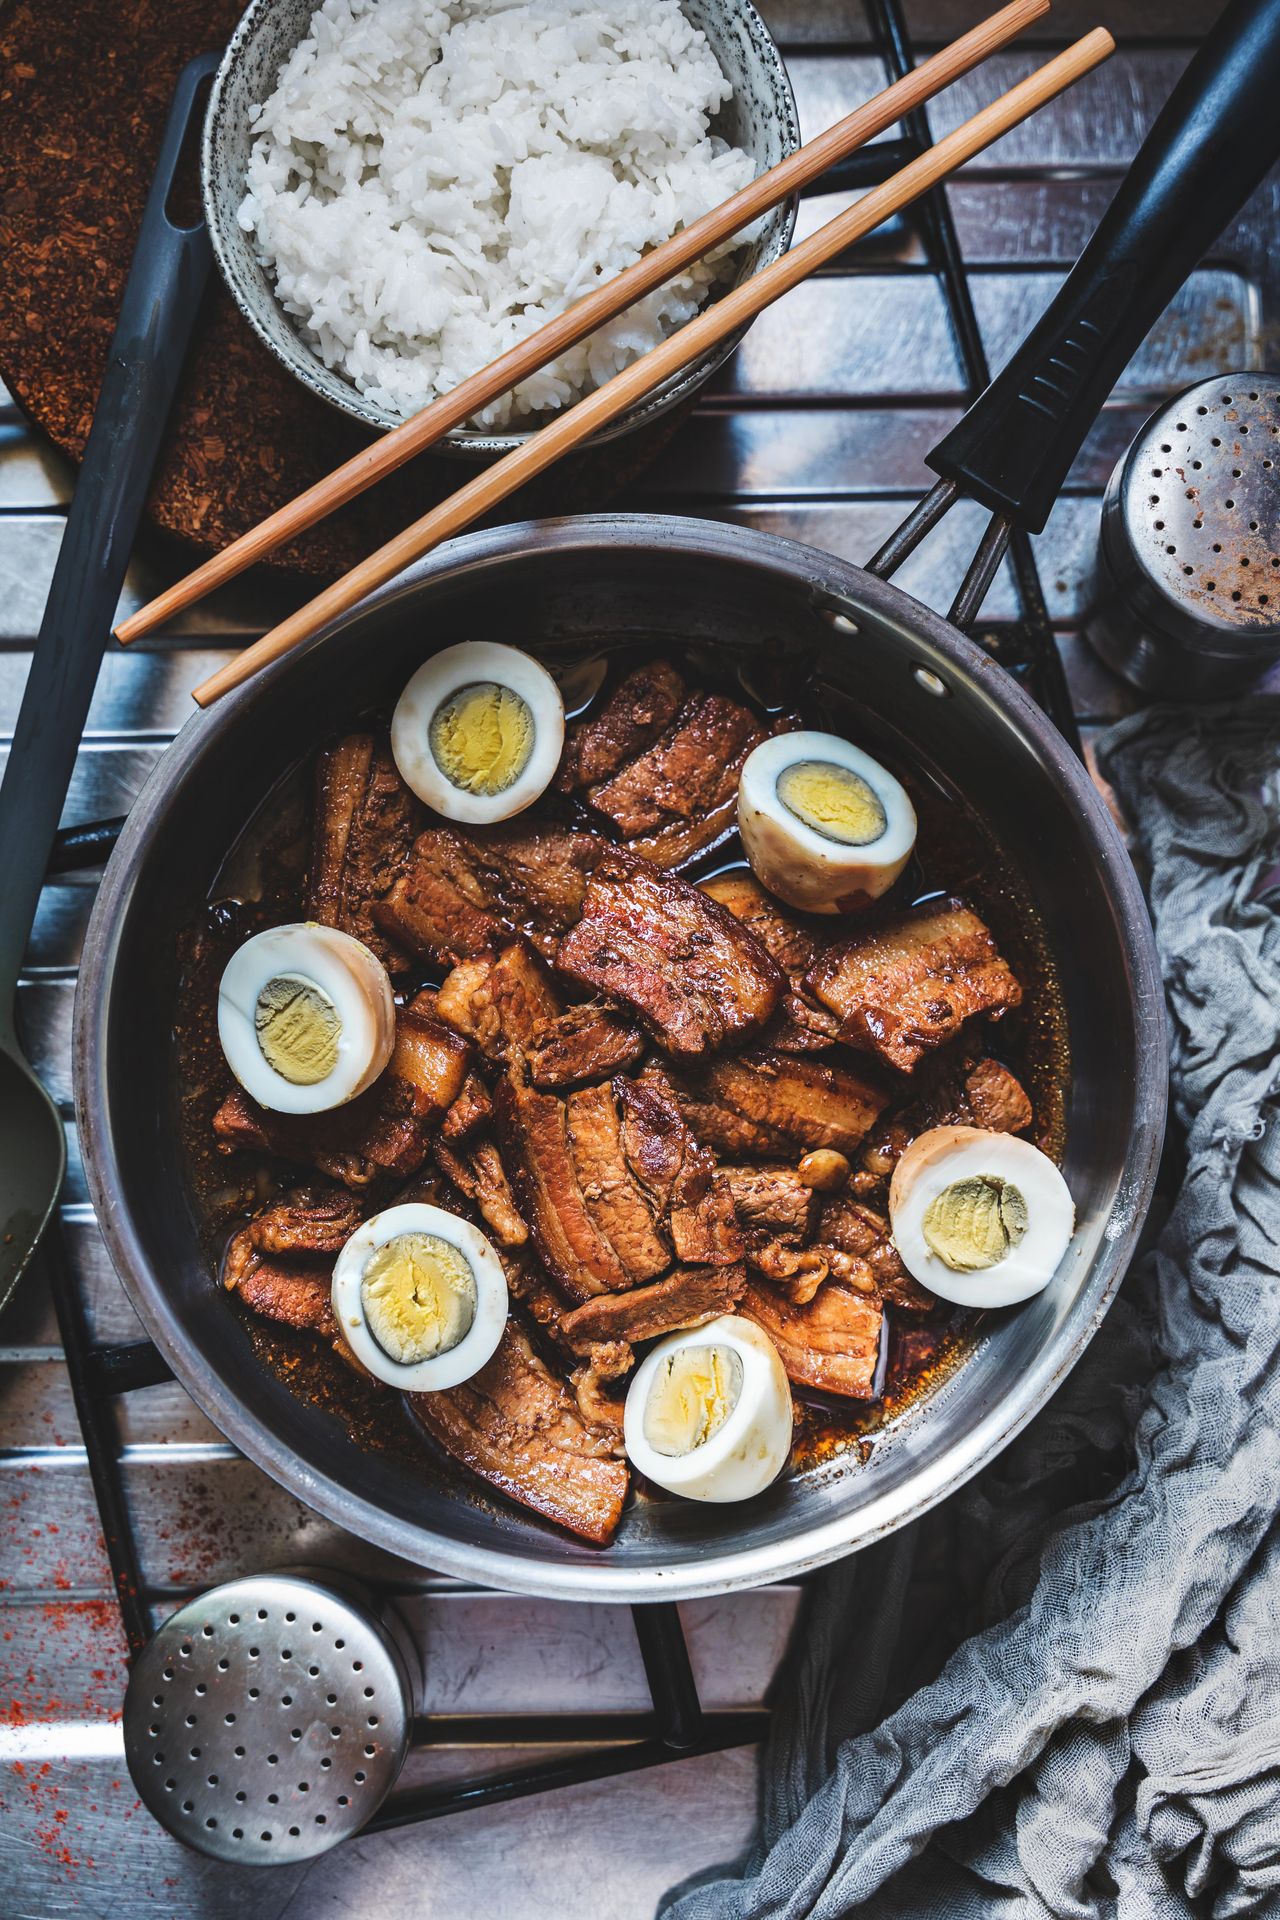
The version most Filipino kids grew up on. Hard-boiled eggs added to the sauce in the last 10 minutes, where they absorb the soy-vinegar and turn brown. Not a variation so much as a family upgrade.
What to Serve With Chicken Adobo
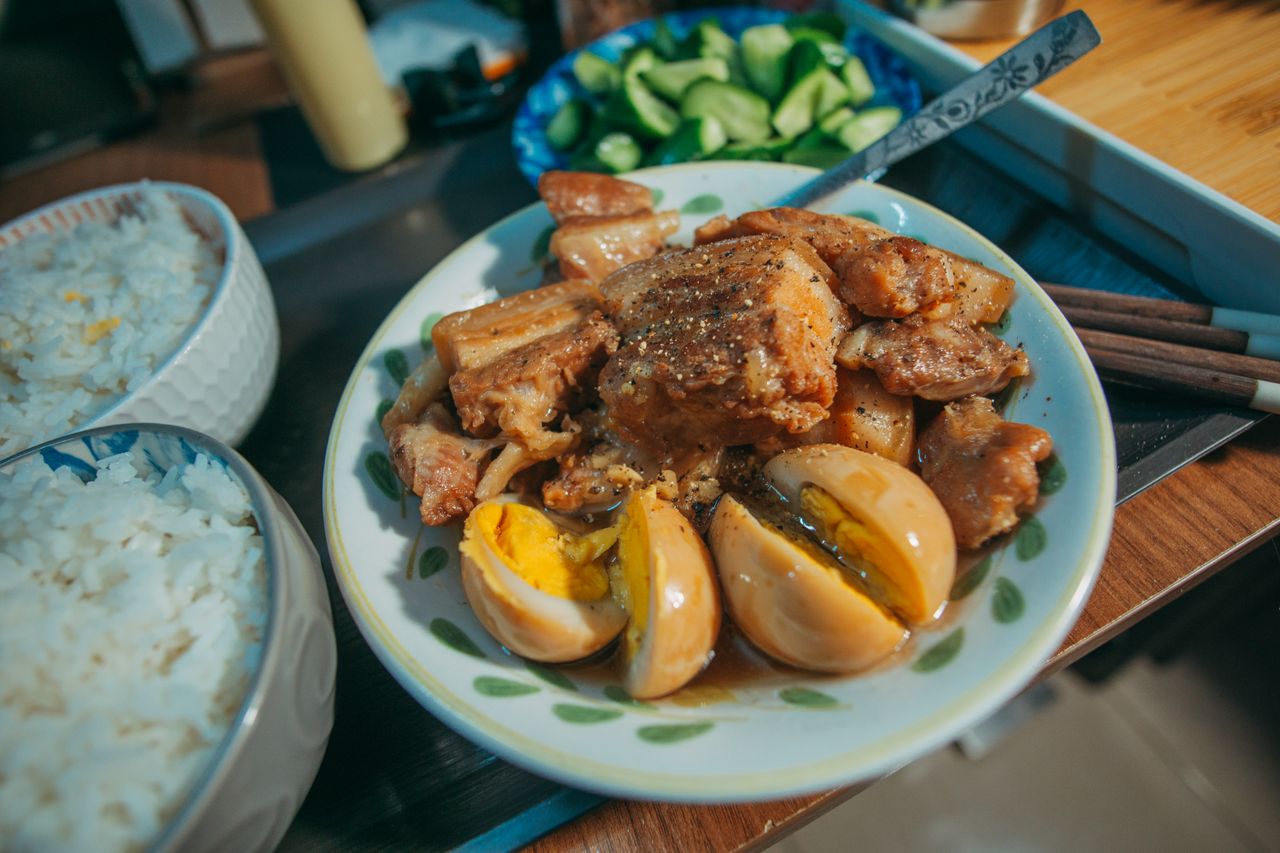
Rice is not optional. Adobo without rice is like a burger without a bun — the sauce is the whole point, and rice is what carries it. Steamed jasmine or long-grain white rice is the default. Beyond that:
Sinangag (garlic rice)
Day-old rice fried in oil with fried garlic bits. The traditional partner for adobo at breakfast (yes, Filipinos eat adobo for breakfast).
Atchara
Sweet-sour green papaya pickle. The classic side that cuts through the richness. Any pickled vegetable works if you can’t find it.
Blanched leafy greens
Kangkong (water spinach), pechay (bok choy), or even regular spinach — quickly blanched and dressed with a spoon of adobo sauce.
Sliced tomatoes and salted eggs
Ripe tomato wedges with a Filipino salted duck egg (itlog na maalat). Cold, salty, sharp — a Filipino household staple.
Five Mistakes That Ruin Adobo
Storage and Reheating
Common Questions
Can I make adobo without soy sauce?
Yes — this is called adobong puti (white adobo), and it’s the older, pre-Spanish original. Replace the soy sauce with 2 teaspoons of salt and increase the water by ¼ cup. You’ll get a paler, sharper adobo that many Filipinos actually prefer.
Why does my adobo taste too sour?
Two causes: you stirred the vinegar before it boiled (harsh, raw acidity remains), or your vinegar was too high-acidity. Filipino cane vinegar is ~4%. Distilled white vinegar is 5-7% — much sharper. Switch vinegars or add ½ tsp brown sugar to balance.
Can I make chicken adobo in an Instant Pot?
Yes. Sauté the garlic and sear the chicken on the Sauté setting. Add everything else, seal, and cook on high pressure for 12 minutes with a natural release for 10 minutes. Then reduce the sauce on Sauté for 5 minutes. Fast, and the flavor is remarkably close to stovetop.
Do I really have to marinate for an hour?
You’ll get an edible adobo without marinating, but the flavor stays surface-level. Even 30 minutes helps. If you’re truly out of time, at least mix the soy and chicken while you prep the other ingredients — every minute counts.
Is adobo supposed to be spicy?
No — classic adobo has no chili. Bicol-style versions add fresh green chili for heat, and some Manila home cooks add a small dried red chili. But traditional adobo’s warmth comes from black peppercorns, not capsaicin. Add chili if you like it; the dish won’t complain.
What’s the difference between chicken adobo and pork adobo?
Same technique, different timing. Pork adobo (usually pork belly or shoulder) needs 60-90 minutes of simmering to break down the fat. Chicken adobo is 25-30 minutes. Many Filipino cooks make a combined version called adobong manok at baboy — chicken added halfway through the pork’s cooking time.

Chicken Adobo: Authentic Filipino Recipe (Step-by-Step)
A classic Filipino dish made with marinated chicken cooked in a mixture of soy sauce, vinegar, garlic, and bay leaves, resulting in tender chicken and a rich, savory sauce.
- 2.5 lb lb bone-in skin-on chicken thighs and drumsticks
- ½ cup cup Filipino soy sauce (Silver Swan/Datu Puti)
- ½ cup cup cane vinegar (or coconut vinegar)
- ¾ cup cup water
- 1 tbsp tbsp brown sugar (optional)
- 10 garlic cloves, smashed
- 4 dried bay leaves
- 2 tsp tsp whole black peppercorns, lightly cracked
- 1 medium yellow onion, sliced (optional)
- 4 hard-boiled eggs, peeled (added in the last 10 min)
- 2 medium potatoes, cubed (added with the chicken)
- 1 red chili, split (Bicol-style heat)
- 1 cup cup coconut milk (for adobo sa gata)
Marinate the chicken
In a bowl, combine the chicken with soy sauce, half the smashed garlic, bay leaves, and peppercorns. Toss well. Cover and refrigerate for at least 1 hour, ideally 4 hours. Overnight is even better — the flavor penetration is dramatic.
Drain and sear
Lift the chicken out of the marinade with tongs, letting the excess drip off. Reserve the marinade — don't throw it out. Pat the chicken skin dry with paper towels. Heat oil in a heavy pan over medium-high heat. Sear the pieces skin-side down until deeply golden, 5-6 minutes. Flip and sear the other side, 3 more minutes. Do it in batches if the pan is crowded.
Bloom the garlic
Push the chicken to the sides of the pan (or remove it if the pan is too full). Add the remaining smashed garlic to the rendered chicken fat. Fry until fragrant and just starting to turn gold at the edges, about 45 seconds. Don't let it burn.
Add the vinegar — and don't stir
Pour in the vinegar. Bring to a rolling boil without stirring for a full 2 minutes. This is the most important step in Filipino cooking. Stirring raw vinegar releases a harsh, acrid flavor that never fully cooks off. Boiling it undisturbed lets the harshness evaporate.
Add the marinade, water, and sugar
Now you can stir. Pour in the reserved marinade, water, and brown sugar (if using). Return all the chicken to the pan. Bring back to a simmer.
Simmer covered
Reduce heat to medium-low, cover, and simmer for 25 minutes, flipping the chicken once halfway through. The meat is done when it starts pulling away from the bone.
Reduce the sauce
Uncover the pan. Push the chicken to one side and let the sauce reduce over medium-high heat for 5 to 10 minutes, spooning it over the chicken as it thickens. You want it glossy and just thick enough to coat the back of a spoon — not a full syrup.
Rest and serve
Turn off the heat and let the pan sit for 5 minutes so the flavors settle. Serve over hot steamed rice (or garlic rice, if you want to be traditional), spooning plenty of sauce over each portion.
- Heavy pan
- Tongs
- Paper towels
This recipe is a classic representation of Filipino cuisine, with a focus on bold flavors and tender chicken. It's a versatile dish that can be served with a variety of sides, including steamed rice, garlic rice, and pickled vegetables.
Did You Try Our Recipe ?
Scrumptious
My husband (who is extremely picky) loved the liver & onions so much!! I didn’t have any beef broth or Sherry so I used about a tbl of Worcestershire and 1/4 c of white wine …..it was scrumptious
Response from MeatRecipesBox
Oh wow, I’m so happy to hear that!! 😍 I love that you made it work with what you had on hand — Worcestershire and white wine sound like a delicious twist. So glad your husband enjoyed it, especially being picky! Thank you for sharing your version, it makes me smile knowing it turned out scrumptious!
This was amazing
This recipe turned out really amazing! It’s juicy and spiced deliciously. I definitely would use less of the spicy pepper next time, but it really was delicious and I don’t think I’ll make chicken legs any other way from now on.!
Response from MeatRecipesBox
Thank you for taking the time to leave such a thoughtful review. I’m really glad to hear the recipe turned out juicy and full of flavor for you. That’s exactly what I was hoping for when putting it together. Good call on the spicy pepper as well. Adjusting the heat level to your own taste is always the best approach, and using a little less next time should make it just right for you. I really appreciate you trying the recipe and sharing your experience. It’s great to know it worked so well for you.
I Didn’t Expect This Cornbeef Hash Recipe to Taste This Good!!
One skillet. A handful of simple ingredients. Thirty minutes on the clock. And somehow… I ended up with the crispiest, most comforting cornbeef hash recipe I’ve made in years.
I wasn’t expecting much—just a quick, no-fuss meal. But that first bite? Crispy edges, tender potatoes, smoky corned beef, a little kick of pepper. It tasted like something straight off a cozy diner griddle.
Honestly, it caught me off guard—in the best way. Here’s why this simple skillet completely won me over.


