
Baked mac and cheese lives or dies on two things: a béchamel that stays creamy after 25 minutes in the oven, and a cheese blend that actually melts. Skip the pre-shredded bag, build a proper roux, and finish the top under high heat for the crackly crust you came for. This is the version I make when there is company at the table and no room for a grainy sauce.
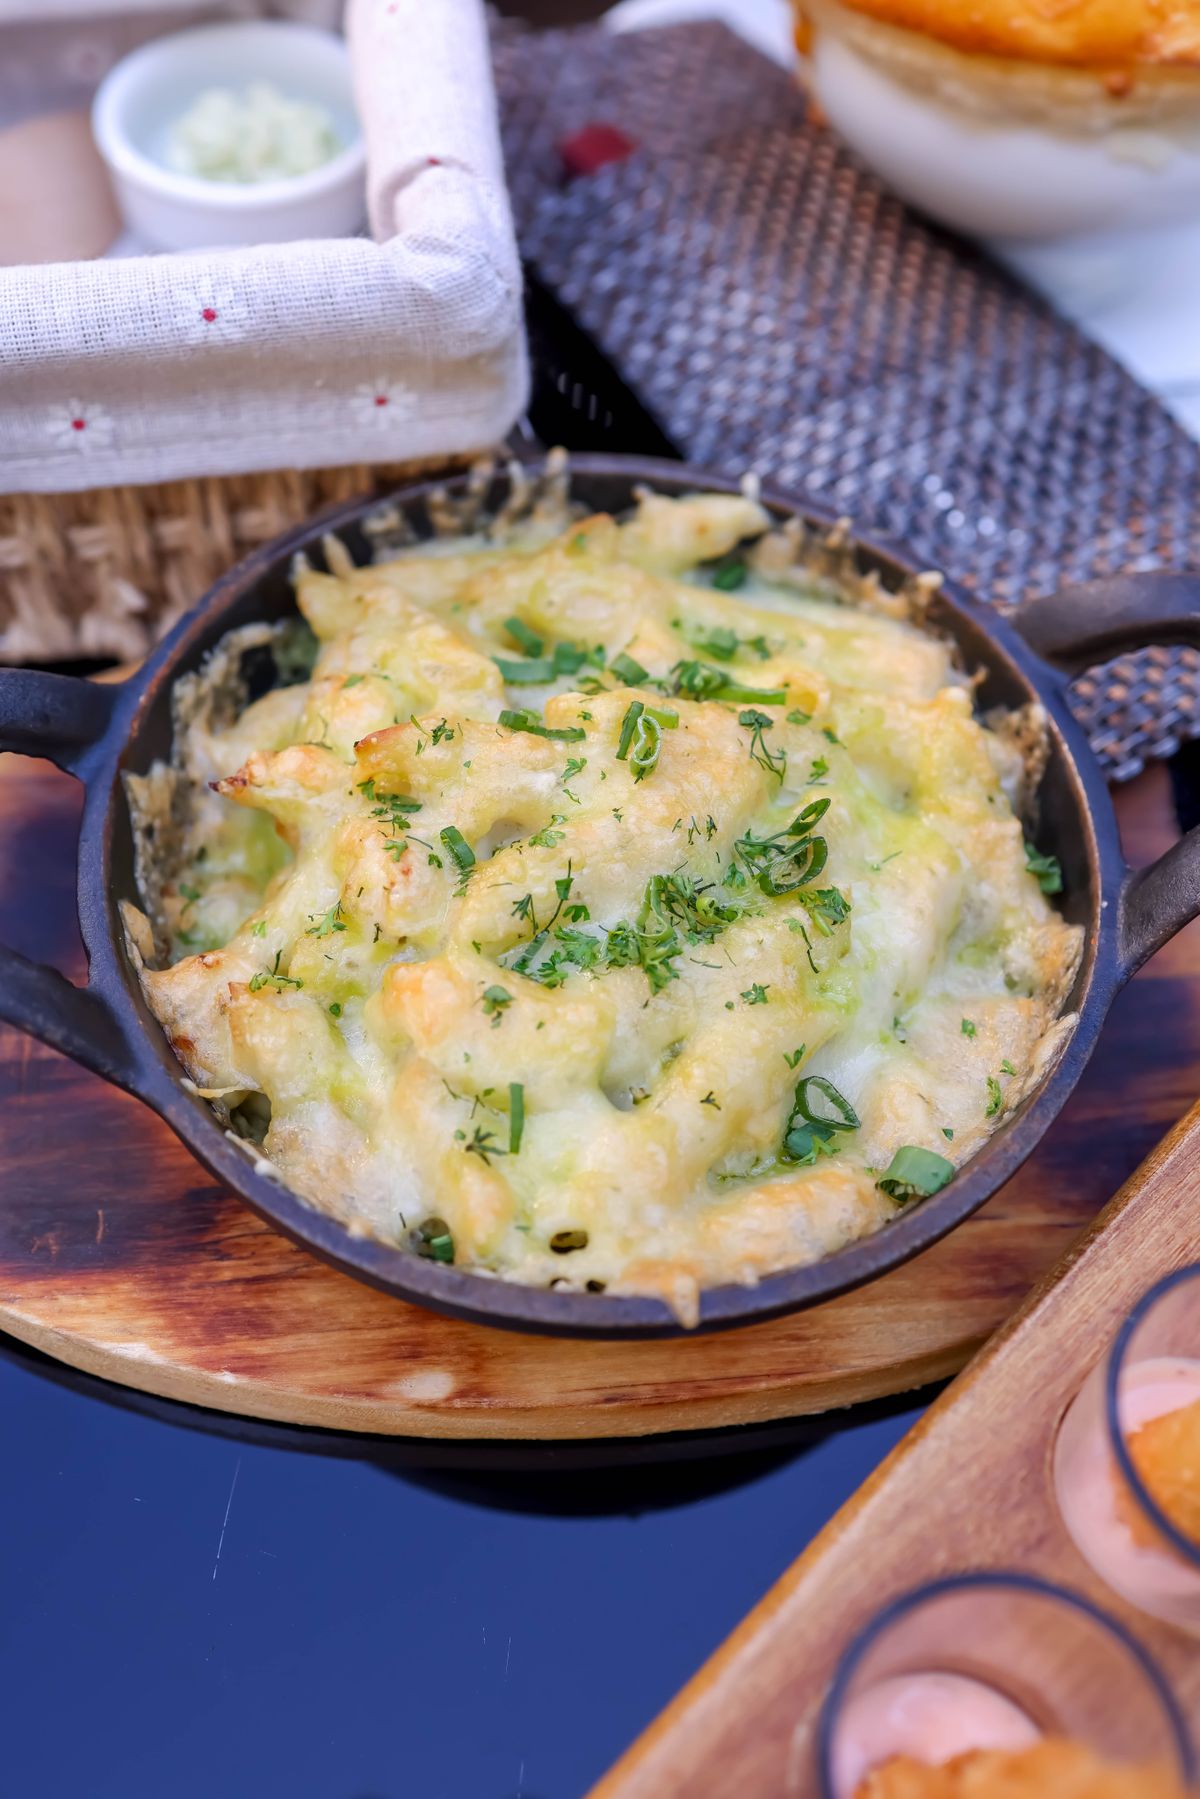
The short answer: Cook one pound of elbows two minutes shy of al dente. Whisk a roux of 4 tbsp butter and 4 tbsp flour, add 3 cups warm whole milk, then melt in 4 cups shredded sharp cheddar and Gruyère off the heat. Combine, top with buttered panko, bake at 375°F / 190°C for 25 minutes, then broil 2 minutes for the crust.
Jump to
Ingredients you actually need
Nine ingredients, most of which are already in your kitchen. The two that matter most are the cheese and the milk. Whole milk (not 2%, not half-and-half) gives you a sauce that thickens without breaking, and block cheese you grate yourself melts smoothly because it isn’t coated in the anti-clumping starches used on pre-shredded bags.
Pasta and dairy
- 1 lb elbow macaroni (or cavatappi)
- 4 tbsp unsalted butter
- 4 tbsp all-purpose flour
- 3 cups whole milk, warm
- 1 cup heavy cream
Cheese blend
- 3 cups sharp cheddar, block-grated
- 1 cup Gruyère, grated
- ½ cup Parmesan, finely grated
Season and top
- 1 tsp Dijon mustard
- ½ tsp smoked paprika
- ¼ tsp freshly grated nutmeg
- 1 tsp kosher salt, plus more for pasta water
- 1 cup panko + 2 tbsp melted butter
Best cheeses for a bakeable sauce
Not every cheese survives 25 minutes at 375°F. The two failure modes are separation (the fat pools into orange puddles) and rubberiness (the proteins tighten and squeak against your fork). You avoid both by pairing a good-melter with a flavor cheese, and by grating from a block.
Sharp cheddar carries the flavor. Gruyère is the melter, its high moisture and lower elastin keep the sauce silky even after a rest. Parmesan on top browns into that savory, nutty finish you get at a steakhouse. Skip pre-shredded bags entirely, the cellulose coating that keeps them free-flowing also keeps them from melting into a smooth béchamel.
Step-by-step method
Every step below has one job. Skip nothing, and read the pasta timing carefully, undercooking the noodles is the single biggest fix people miss.
- Preheat and prep. Heat the oven to 375°F / 190°C and butter a 9×13-inch baking dish. Grate all the cheese before you start the sauce, once the roux is going you will not have time.
- Boil the pasta short. Salt a big pot of water heavily, add the elbows, and cook two minutes less than the box says. They should still have a firm bite. Drain, do not rinse.
- Build the roux. Melt 4 tbsp butter in a large heavy pot over medium heat. Whisk in the flour and cook 90 seconds, until it smells like popcorn and turns pale gold. This is the point where flour loses its raw taste.
- Add the dairy. Slowly pour in the warm milk and cream while whisking constantly. Cold liquid on hot roux clumps, so warm the milk in the microwave first. Simmer 4 to 5 minutes until it thickly coats the back of a spoon.
- Season, then melt in cheese. Off the heat, whisk in the Dijon, smoked paprika, nutmeg, and salt. Add cheddar and Gruyère by the handful, stirring until each addition disappears before adding the next. Adding cheese to a pot still on the burner is how sauces break.
- Combine and top. Fold in the drained pasta. Tip everything into the buttered dish. Toss the panko with 2 tbsp melted butter and half the Parmesan, then scatter it evenly across the top with the remaining Parmesan.
- Bake, then broil. Bake 25 minutes until bubbling at the edges. Move the rack to the top third, flip the broiler to high, and broil 90 seconds to 2 minutes until the crust turns copper. Do not walk away.
- Rest before serving. Let the dish sit 10 minutes on the counter. The sauce firms from soupy to spoonable in that time, and the top stays crackly.
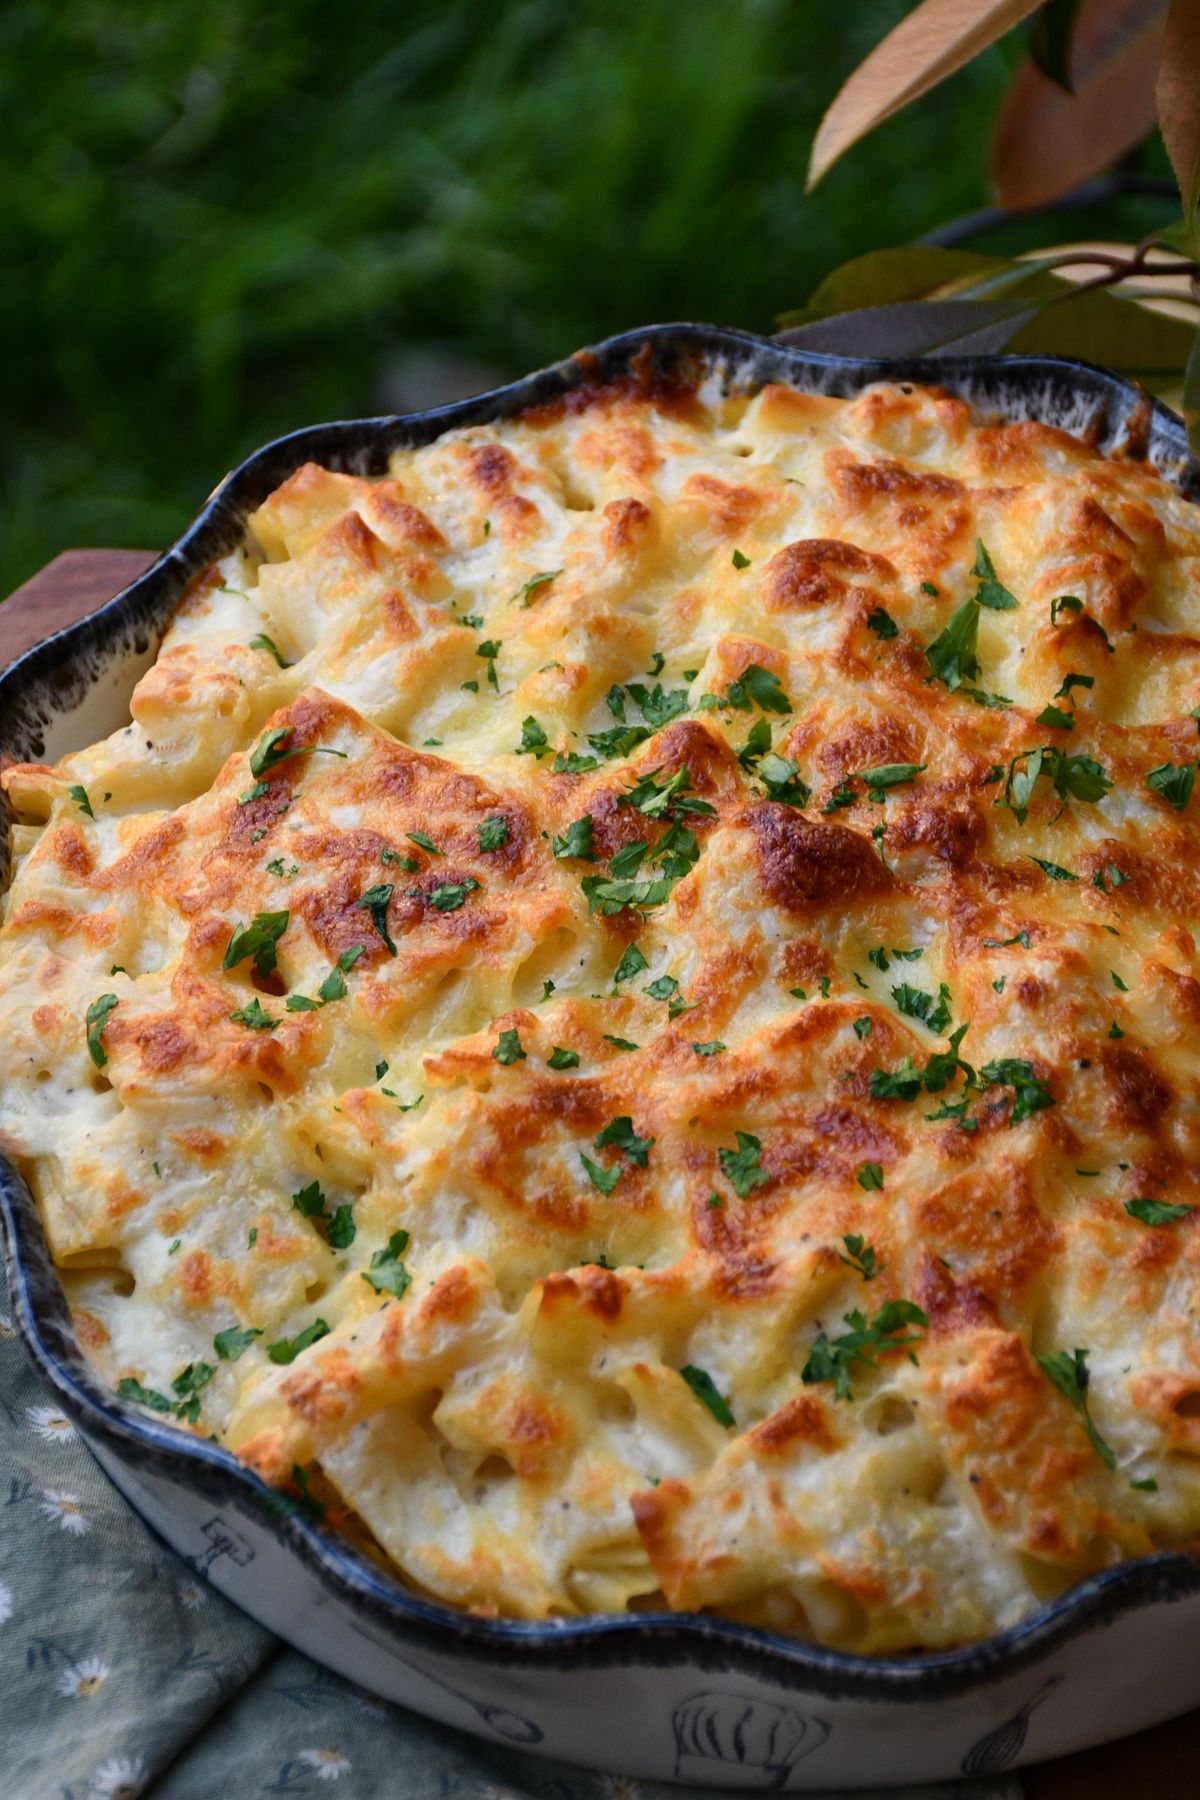
Bake time and temperature
375°F is the sweet spot for baked mac. Lower than 350°F and the top browns before the interior sets. Higher than 400°F and the cheese fat separates from the proteins, leaving oily patches on the surface. If you are scaling the dish up or down, use the table as a starting point and pull it when the edges bubble hard and the center jiggles like set custard.
| Dish size | Oven temp | Bake time | Broil finish |
|---|---|---|---|
| 8×8 (4 servings) | 375°F / 190°C | 20 min | 60–90 sec |
| 9×13 (8 servings) | 375°F / 190°C | 25 min | 90 sec–2 min |
| Individual ramekins | 400°F / 205°C | 15 min | 60 sec |
| From-cold (refrigerated) | 350°F / 175°C, covered | 40 min + 10 uncovered | 2 min |
Why baked mac goes wrong
Variations worth making
Bacon and jalapeño
Fold in 8 oz cooked crumbled bacon and one seeded, minced jalapeño with the pasta. Top with pickled jalapeño slices after broiling.
Lobster
Fold 12 oz cooked lobster meat into the sauce before baking. Cut Parmesan by half so the seafood reads through.
Buffalo chicken
Stir 2 cups shredded rotisserie chicken tossed in ¼ cup buffalo sauce into the mac. Finish with crumbled blue cheese on top of the panko.
Truffle Gruyère
Skip the smoked paprika, use all Gruyère instead of cheddar, and drizzle with 1 tsp truffle oil right before serving. Steakhouse energy.
Southern soul-style
Whisk 2 eggs into the cooled béchamel before adding cheese for a custardy set. Bake 35 minutes at 350°F, no broil.
Gluten-free
Swap chickpea or brown-rice elbows and use 3 tbsp cornstarch slurried into the milk in place of the roux. Bake time stays the same.
Storage and reheating
Up to 4 days in a sealed container. Reheat covered at 325°F with a splash of milk to bring the sauce back.
Up to 2 months, assembled but unbaked. Thaw overnight in the fridge, then bake from the from-cold row in the table above.
Microwave 90 seconds at 70% power with 1 tbsp milk stirred in. Full power breaks the sauce.
Assemble the whole dish, skip the panko topping, and refrigerate up to 24 hours. Add the buttered panko right before baking.
Questions people ask
Can I use pre-shredded cheese?
You can, but the sauce will be grainier and slower to melt. The cellulose and potato starch coating that keeps bagged shreds from clumping also blocks the fat from emulsifying. Grating a block takes four minutes and saves the sauce.
Do I have to make a roux, or can I skip it?
The roux is what keeps a baked mac creamy through the oven. Without it, the milk proteins clot around the cheese and you get a curdled interior. If you are dairy-sensitive, a cornstarch slurry (see gluten-free variation) works, but eyeball the thickness the same way.
What pasta shape is best?
Elbows are the default because their curve traps sauce, but cavatappi, shells, and gemelli all work. Long noodles like penne or ziti hold less sauce per bite and give you dry patches in the middle of the dish.
Why do I need to broil at the end?
Baking alone at 375°F browns the top slowly and often unevenly. Two minutes under a high broiler caramelizes the butter and cheese fat in the panko and gives you the copper crust that makes baked mac feel finished. Watch it closely, it goes from golden to burned in under a minute.
Can I bake mac and cheese ahead for a holiday?
Assemble the pasta and sauce, cover, and refrigerate up to 24 hours. Add the buttered panko right before it goes in the oven, and follow the from-cold row in the bake table. Baked-and-reheated mac loses its texture, so bake the day of if you can.
Why did my sauce turn oily in the oven?
Either the oven ran hot, or the cheese blend leaned too aged. High heat breaks the emulsion between the fat and protein, so drop to 375°F and blend one softer cheese (Gruyère, fontina, Monterey Jack) with your cheddar next time.
Serve this alongside a peppery slaw, a green salad with mustard vinaigrette, or roast chicken. For a weeknight version that skips the oven step, look at our steakhouse-style stovetop mac and cheese, and for the science of cheese melting behavior see the Serious Eats breakdown on emulsified cheese sauces.
Save this recipe on Pinterest
Pin the golden-crust shot so you can come back to it next holiday.
Pin this recipe
Baked Mac and Cheese Recipe: No Grainy Sauce, Copper Crust
A creamy baked mac and cheese recipe with a golden crust, featuring a blend of sharp cheddar, Gruyère, and Parmesan cheese.
- 1 lb lb elbow macaroni
- 4 tbsp tbsp unsalted butter
- 4 tbsp tbsp all-purpose flour
- 3 cups cups whole milk warm
- 1 cup cup heavy cream
- 3 cups cups sharp cheddar block-grated
- 1 cup cup Gruyère grated
- 0.5 cup cup Parmesan finely grated
- 1 tsp tsp Dijon mustard
- 0.5 tsp tsp smoked paprika
- 0.25 tsp tsp freshly grated nutmeg
- 1 tsp tsp kosher salt
- 1 cup cup panko
- 2 tbsp tbsp melted butter
Preheat and prep
Heat the oven to 375°F / 190°C and butter a 9×13-inch baking dish.
Grate all the cheese before you start the sauce.
Boil the pasta short
Salt a big pot of water heavily, add the elbows, and cook two minutes less than the box says.
Drain, do not rinse.
Build the roux
Melt 4 tbsp butter in a large heavy pot over medium heat.
Whisk in the flour and cook 90 seconds, until it smells like popcorn and turns pale gold.
Add the dairy
Slowly pour in the warm milk and cream while whisking constantly.
Simmer 4 to 5 minutes until it thickly coats the back of a spoon.
Season, then melt in cheese
Off the heat, whisk in the Dijon, smoked paprika, nutmeg, and salt.
Add cheddar and Gruyère by the handful, stirring until each addition disappears before adding the next.
Combine and top
Fold in the drained pasta.
Tip everything into the buttered dish.
Toss the panko with 2 tbsp melted butter and half the Parmesan, then scatter it evenly across the top with the remaining Parmesan.
Bake, then broil
Bake 25 minutes until bubbling at the edges.
Move the rack to the top third, flip the broiler to high, and broil 90 seconds to 2 minutes until the crust turns copper.
Rest before serving
Let the dish sit 10 minutes on the counter.
- 9×13-inch baking dish
- large heavy pot
- microwave
This recipe makes 8 servings and can be stored in the fridge for up to 4 days or frozen for up to 2 months.
Did You Try Our Recipe ?
Scrumptious
My husband (who is extremely picky) loved the liver & onions so much!! I didn’t have any beef broth or Sherry so I used about a tbl of Worcestershire and 1/4 c of white wine …..it was scrumptious
Response from MeatRecipesBox
Oh wow, I’m so happy to hear that!! 😍 I love that you made it work with what you had on hand — Worcestershire and white wine sound like a delicious twist. So glad your husband enjoyed it, especially being picky! Thank you for sharing your version, it makes me smile knowing it turned out scrumptious!
This was amazing
This recipe turned out really amazing! It’s juicy and spiced deliciously. I definitely would use less of the spicy pepper next time, but it really was delicious and I don’t think I’ll make chicken legs any other way from now on.!
Response from MeatRecipesBox
Thank you for taking the time to leave such a thoughtful review. I’m really glad to hear the recipe turned out juicy and full of flavor for you. That’s exactly what I was hoping for when putting it together. Good call on the spicy pepper as well. Adjusting the heat level to your own taste is always the best approach, and using a little less next time should make it just right for you. I really appreciate you trying the recipe and sharing your experience. It’s great to know it worked so well for you.
I Didn’t Expect This Cornbeef Hash Recipe to Taste This Good!!
One skillet. A handful of simple ingredients. Thirty minutes on the clock. And somehow… I ended up with the crispiest, most comforting cornbeef hash recipe I’ve made in years.
I wasn’t expecting much—just a quick, no-fuss meal. But that first bite? Crispy edges, tender potatoes, smoky corned beef, a little kick of pepper. It tasted like something straight off a cozy diner griddle.
Honestly, it caught me off guard—in the best way. Here’s why this simple skillet completely won me over.

