
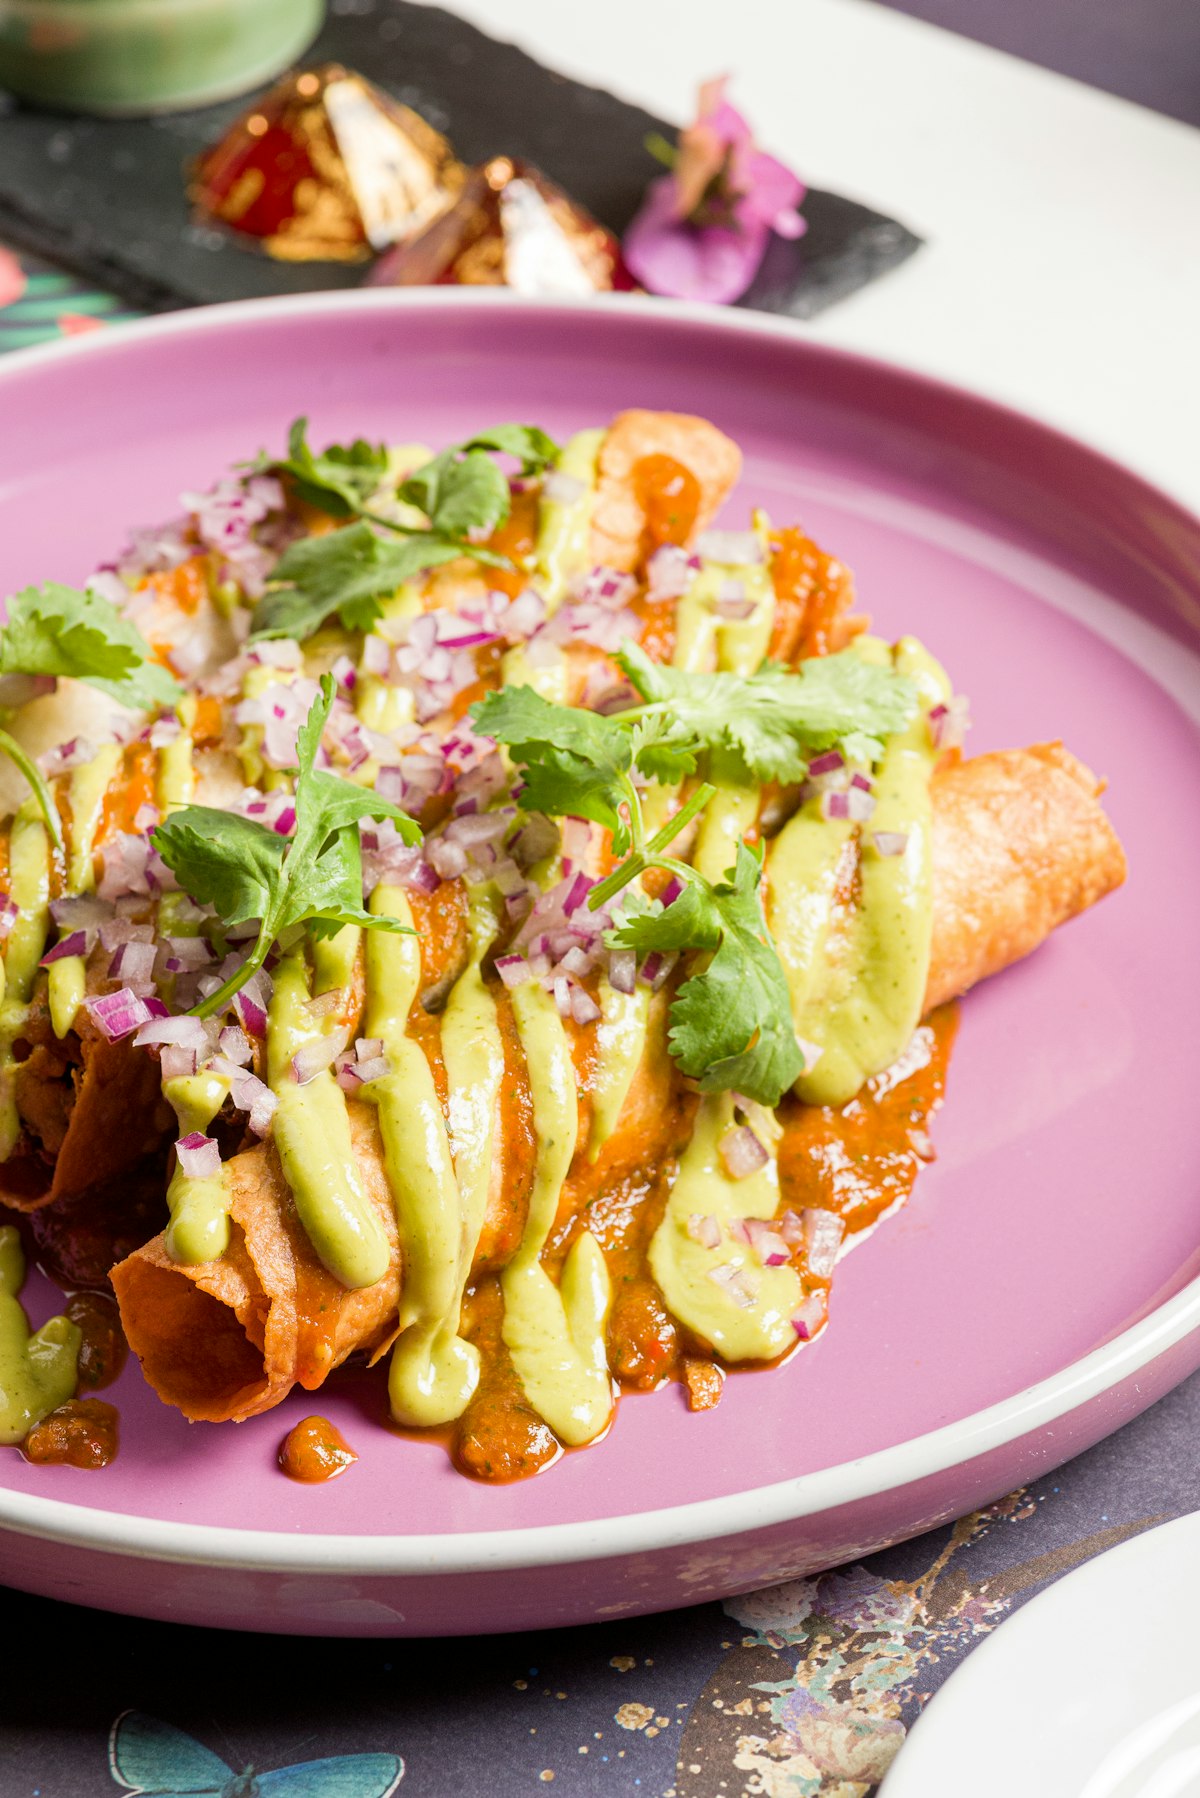
Mexican vs Tex-Mex — know which one you want
Before you shop, decide which enchilada you’re chasing. Both belong on a table; each has its rules. Confusing them is why so many home versions taste like nothing in particular.
| Element | Authentic Mexican | Tex-Mex |
|---|---|---|
| Beef | Shredded chuck, braised 90 min | Ground beef, browned 10 min |
| Sauce | Guajillo + ancho + árbol, rehydrated | Canned sauce or chili powder roux |
| Tortilla | Corn, dipped in hot oil first | Flour or corn, softened in sauce |
| Cheese | Crumbled queso fresco or cotija | Melted cheddar or Monterey Jack |
| Toppings | Mexican crema, pickled red onion, cilantro | Sour cream, black olives, scallions |
| Bake time | 10 min (just to warm) | 20-25 min (to melt cheese) |
This recipe is the Mexican version. If Tex-Mex is what you want, House of Yumm’s version is a solid template.
What you need
For the shredded beef (makes 3 cups)
- 1.5 lb (700 g) chuck roast, cut in 3 chunks
- 1 yellow onion, halved
- 4 garlic cloves, smashed
- 2 bay leaves
- 1 tsp cumin seeds
- 1 tbsp Mexican oregano
- 4 cups (1 L) beef broth
- 1½ tsp fine sea salt
For the red enchilada sauce
- 4 dried guajillo chiles (stems + seeds out)
- 3 dried ancho chiles (stems + seeds out)
- 1 dried chile de árbol (or 2 for spice)
- 3 garlic cloves
- ¼ white onion
- 1 Roma tomato
- 1 tsp ground cumin
- 1 tsp dried Mexican oregano
- 2 cups (500 ml) reserved beef broth
- 2 tbsp lard or neutral oil
- Salt to taste
For assembly
- 16 small corn tortillas (6 inch / 15 cm)
- ½ cup (120 ml) neutral oil for frying
- 1 cup (150 g) crumbled queso fresco
- ½ cup (120 ml) Mexican crema
- ½ red onion, thinly sliced
- 1 lime, juiced
- Fresh cilantro, chopped
The method, step by step
- Braise the beef. Combine chuck, onion, garlic, bay, cumin, oregano, broth, and salt in a Dutch oven. Bring to a boil, cover, reduce to a low simmer, and cook 75-90 minutes until the meat shreds with a fork. Remove the beef, shred with two forks, and reserve 2 cups of the broth for the sauce.
- Toast the chiles. Heat a dry cast-iron skillet over medium. Toast each dried chile 15-20 seconds per side — just until fragrant and slightly puffed. Watch them like a hawk; scorched chiles turn the sauce bitter and cannot be rescued.
- Rehydrate the chiles. Move the toasted chiles to a bowl, cover with boiling water, and weigh them down with a plate for 20 minutes until fully soft and pliable.
- Blend the sauce. Drain the chiles (discard soaking water — it’s bitter). Add chiles, garlic, onion, tomato, cumin, oregano, and 2 cups reserved beef broth to a blender. Blend on high for 2 minutes until completely smooth, then strain through a mesh sieve to remove skins.
- Fry the sauce. Heat lard in a wide skillet over medium-high until shimmering. Pour in the strained sauce — it will hiss violently. Cook 5-8 minutes, stirring, until it deepens in color and coats the back of a spoon. This “frying” step (“freír la salsa“) concentrates flavor and is what canned sauce can never replicate.
- Prep the tortillas — the critical move. Heat ½ cup neutral oil in a small skillet to 340 °F (170 °C). Dip each tortilla in the hot oil for 5-8 seconds — just to soften and seal the surface. Blot on paper towel. Skip this step and every tortilla will tear when you try to roll it.
- Dip, fill, roll. Dunk each fried tortilla briefly in the warm red sauce to coat both sides. Lay it in a baking dish, add 3 tablespoons shredded beef down the center, roll snugly, and place seam-down. Continue until the dish is full.
- Sauce, bake, top. Ladle remaining sauce over the rolled enchiladas — cover them completely. Bake at 375 °F (190 °C) for 10 minutes, just to warm through. Pull from the oven and immediately top with crumbled queso fresco, drizzle of crema, pickled red onions (see tip), and cilantro. Serve at once.
Watch the technique
The tortilla dip-and-roll rhythm is easier to see than describe. This video walks through the whole sequence — sauce fry, tortilla prep, assembly — at real-life speed.
Three mistakes that turn enchiladas into mush
What to serve with them
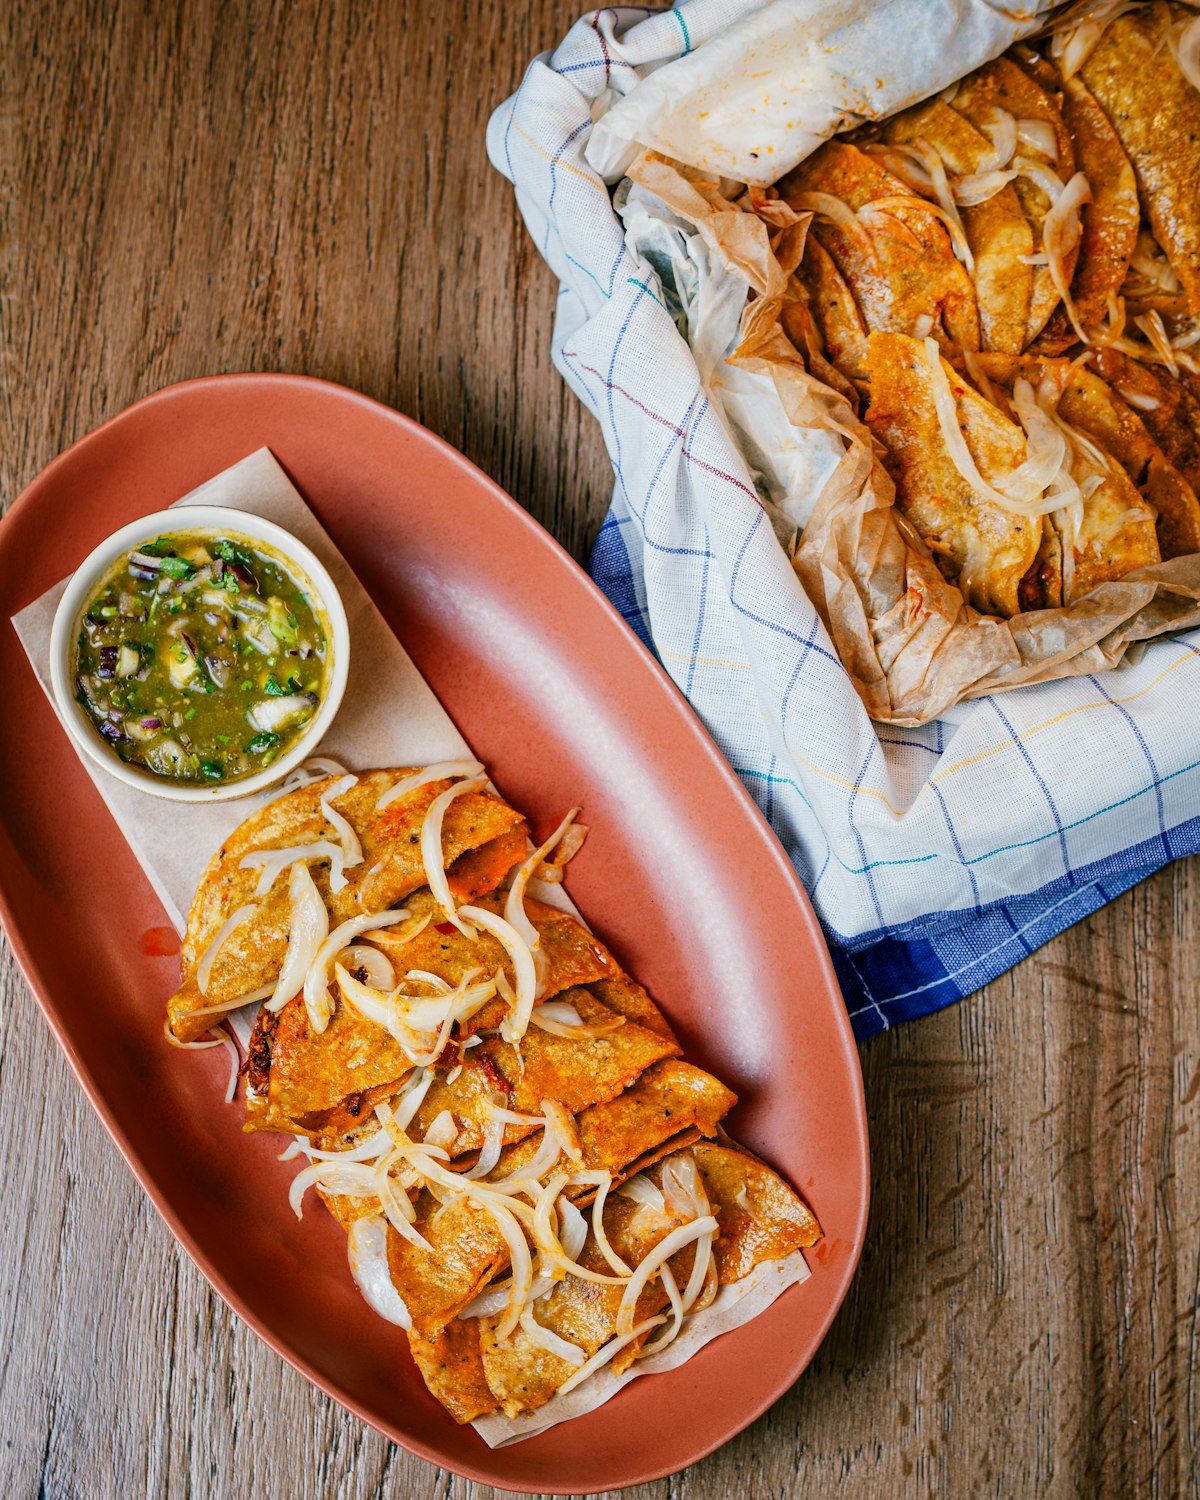
The Mexican combo plate is fixed: enchiladas as the star, arroz rojo (red rice cooked with tomato and onion) and frijoles refritos (refried pinto beans) on the side. A wedge of lime and a small dish of salsa verde for those who want more heat. Skip guacamole here — the sauce is already rich enough. Muy Delish notes that in central Mexico, a simple avocado slice on the plate is the entire “guacamole” contribution.
For drinks: cold Mexican beer (Modelo, Pacifico) or agua de jamaica (hibiscus water). Wine is not a natural friend here — the chile capsaicin fights tannin.
Your beef enchilada questions
Can I substitute canned enchilada sauce?
You can, but you’ll lose about 70 % of the flavor. Canned sauce is thin, one-note, and often oversalted. If you’re truly short on time, buy a good bottled Mexican-brand sauce (San Marcos, La Costeña) and “fry” it in 2 tbsp lard for 5 minutes before using — the extra step recovers some depth. Homemade takes 30 minutes and is the entire point of the dish.
Corn or flour tortillas?
Corn. Always corn for real enchiladas. Flour tortillas turn gummy when baked in sauce and were never traditional. If you can only find low-quality corn tortillas that crack easily, warm them wrapped in a damp towel for 30 seconds in the microwave before the oil dip — it revives them.
Can I make them ahead?
Yes. Braise the beef and make the sauce up to 3 days ahead — both improve overnight in the fridge. Assemble and bake fresh. Don’t build the enchiladas hours in advance and refrigerate; the tortillas soak up sauce and you’re back to mush.
Can I freeze them?
Freeze the sauce and shredded beef separately — both keep 3 months. Assembled and baked enchiladas freeze poorly (see mush issue above). Reheat the components, assemble fresh, warm 10 minutes at 375 °F. You get 90 % of the fresh experience with 20 % of the effort.
How spicy is this?
With 1 chile de árbol, the sauce is medium — pleasantly warm, not aggressive. Guajillo and ancho are both very mild dried chiles (Scoville 1,000-2,500). Double the árbol for real spice, or leave it out entirely for a kid-friendly version. Ancho and guajillo alone still deliver a full, deep flavor without heat.
Once you own the dried-chile sauce technique, the whole Mexican pantry opens up — try our authentic carne asada tacos or the birria de res, both using the same three-chile foundation.
Authentic Beef Enchiladas Rojas: Real Mexican Recipe (Not Tex-Mex)
Traditional Mexican beef enchiladas filled with shredded braised beef, dipped in a homemade three-chile sauce, and topped with crumbled queso fresco and pickled red onions
- 1.5 lb lb chuck roast cut in 3 chunks
- 1 yellow onion halved
- 4 garlic cloves smashed
- 2 bay leaves
- 1 tsp tsp cumin seeds
- 1 tbsp tbsp Mexican oregano
- 4 cups cups beef broth
- 1½ tsp tsp fine sea salt
- 4 dried guajillo chiles stems + seeds out
- 3 dried ancho chiles stems + seeds out
- 1 dried chile de árbol or 2 for spice
- 3 garlic cloves
- ¼ white onion
- 1 Roma tomato
- 1 tsp tsp ground cumin
- 1 tsp tsp dried Mexican oregano
- 2 cups cups reserved beef broth
- 2 tbsp tbsp lard or neutral oil
- salt to taste
- 16 small corn tortillas 6 inch / 15 cm
- ½ cup cup neutral oil for frying
- 1 cup cup crumbled queso fresco
- ½ cup cup Mexican crema
- ½ red onion thinly sliced
- 1 lime juiced
- fresh cilantro chopped
Braise the beef
Combine chuck, onion, garlic, bay, cumin, oregano, broth, and salt in a Dutch oven. Bring to a boil, cover, reduce to a low simmer, and cook 75-90 minutes until the meat shreds with a fork.
Remove the beef, shred with two forks, and reserve 2 cups of the broth for the sauce.
Toast the chiles
Heat a dry cast-iron skillet over medium. Toast each dried chile 15-20 seconds per side — just until fragrant and slightly puffed.
Rehydrate the chiles
Move the toasted chiles to a bowl, cover with boiling water, and weigh them down with a plate for 20 minutes until fully soft and pliable.
Blend the sauce
Drain the chiles (discard soaking water — it's bitter). Add chiles, garlic, onion, tomato, cumin, oregano, and 2 cups reserved beef broth to a blender. Blend on high for 2 minutes until completely smooth, then strain through a mesh sieve to remove skins.
Fry the sauce
Heat lard in a wide skillet over medium-high until shimmering. Pour in the strained sauce — it will hiss violently. Cook 5-8 minutes, stirring, until it deepens in color and coats the back of a spoon.
Prep the tortillas
Heat ½ cup neutral oil in a small skillet to 340 °F (170 °C). Dip each tortilla in the hot oil for 5-8 seconds — just to soften and seal the surface. Blot on paper towel.
Dip, fill, roll
Dunk each fried tortilla briefly in the warm red sauce to coat both sides. Lay it in a baking dish, add 3 tablespoons shredded beef down the center, roll snugly, and place seam-down. Continue until the dish is full.
Sauce, bake, top
Ladle remaining sauce over the rolled enchiladas — cover them completely. Bake at 375 °F (190 °C) for 10 minutes, just to warm through. Pull from the oven and immediately top with crumbled queso fresco, drizzle of crema, pickled red onions, and cilantro. Serve at once.
- Dutch oven
- cast-iron skillet
- blender
- mesh sieve
- baking dish
Serve with arroz rojo and refried beans for a traditional Mexican combo plate
Use up and down arrow keys to resize the meta box pane.Toggle panel: Recipe Data — RecipeFlow⚡ Auto-fill with AI
Paste your article — AI fills the card automatically.DetailsIngredientsInstructionsEquipmentNutritionNotesRecipe Image
📷 No imageChoose an imageSummaryPrep time (min)Cook time (min)Total time (min)ServingsUnitCaloriesDish typeCuisineKeywords (séparés par des virgules — utilisés dans le schema Google)
Shortcodes to embed
Recipe card
Traditional Mexican beef enchiladas filled with shredded braised beef, dipped in a homemade three-chile sauce, and topped with crumbled queso fresco and pickled red onions Combine chuck, onion, garlic, bay, cumin, oregano, broth, and salt in a Dutch oven. Bring to a boil, cover, reduce to a low simmer, and cook 75-90 minutes until the meat shreds with a fork. Remove the beef, shred with two forks, and reserve 2 cups of the broth for the sauce. Heat a dry cast-iron skillet over medium. Toast each dried chile 15-20 seconds per side — just until fragrant and slightly puffed. Move the toasted chiles to a bowl, cover with boiling water, and weigh them down with a plate for 20 minutes until fully soft and pliable. Drain the chiles (discard soaking water — it's bitter). Add chiles, garlic, onion, tomato, cumin, oregano, and 2 cups reserved beef broth to a blender. Blend on high for 2 minutes until completely smooth, then strain through a mesh sieve to remove skins. Heat lard in a wide skillet over medium-high until shimmering. Pour in the strained sauce — it will hiss violently. Cook 5-8 minutes, stirring, until it deepens in color and coats the back of a spoon. Heat ½ cup neutral oil in a small skillet to 340 °F (170 °C). Dip each tortilla in the hot oil for 5-8 seconds — just to soften and seal the surface. Blot on paper towel. Dunk each fried tortilla briefly in the warm red sauce to coat both sides. Lay it in a baking dish, add 3 tablespoons shredded beef down the center, roll snugly, and place seam-down. Continue until the dish is full. Ladle remaining sauce over the rolled enchiladas — cover them completely. Bake at 375 °F (190 °C) for 10 minutes, just to warm through. Pull from the oven and immediately top with crumbled queso fresco, drizzle of crema, pickled red onions, and cilantro. Serve at once. Serve with arroz rojo and refried beans for a traditional Mexican combo plateAuthentic Beef Enchiladas Rojas: Real Mexican Recipe (Not Tex-Mex)
Braise the beef
Toast the chiles
Rehydrate the chiles
Blend the sauce
Fry the sauce
Prep the tortillas
Dip, fill, roll
Sauce, bake, top
“Jump to Recipe” button
CopierToggle panel: WPCode Page ScriptsToggle panel: Contextual Related Posts
Disable Related Posts display:
If this is checked, then Contextual Related Posts will not automatically insert the related posts at the end of post content.
Exclude this post from the related posts list:
If this is checked, then this post will be excluded from the popular posts list.
Keyword: Enter either a word or a phrase that will be used to find related posts. If entered, the plugin will continue to search the `post_title` and `post_content` fields but will use this keyword instead of the values of the title and content of this post.
Exclude terms: Enter a comma-separated list of terms. If a related post’s title or content contains any of these terms then it will be excluded from the results.
Manual related posts:
Exclude post IDs: Comma separated list of post, page or custom post type IDs. e.g. 188,320,500.
Location of thumbnail: Enter the full URL to the image (JPG, PNG or GIF) you’d like to use. This image will be used for the post. It will be resized to the thumbnail size set under Settings » Related Posts » Output Options The URL above is saved in the meta field: post-imageToggle panel: Table of Contents
| Disable the automatic insertion of the table of contents. | |
| Header Label | Eg: Contents, Table of Contents, Page Contents |
| Position | Select Position Before first heading (default) After first heading After first paragraph After paragraph number After Image number Top Bottom Choose where where you want to display the table of contents. |
| Word Count Limit | Minimum word count to display TOC. Set to 0 for unlimited words (default). |
| Appearance: | NOTE:Using the appearance options below will override the global Appearance settings. |
| Device Target | Select Mobile Desktop |
| Alignment | None (Default) Left Right Center |
| Advanced: | NOTE:Using the advanced options below will override the global advanced settings. |
| Headings: | Heading 1 (h1) Heading 2 (h2) Heading 3 (h3) Heading 4 (h4) Heading 5 (h5) Heading 6 (h6) Select the heading to consider when generating the table of contents. Deselecting a heading will exclude it. |
| Initial View | Initially hide the table of contents. |
| Hide Counter | Do not show counters for the table of contents. |
| Alternate Headings | Specify alternate table of contents header string. Add the header to be replaced and the alternate header on a single line separated with a pipe <code>|</code>. Put each additional original and alternate header on its own line. |
Examples:Level [1.1]|Alternate TOC Header Replaces Level [1.1] in the table of contents with Alternate TOC Header.Note:This is case sensitive. | |
| Exclude Headings | Specify headings to be excluded from appearing in the table of contents. Separate multiple headings with a pipe <code>|</code>. Use an asterisk <code>*</code> as a wildcard to match other text. |
Examples:Fruit*Ignore headings starting with “Fruit”.*Fruit Diet*Ignore headings with “Fruit Diet” somewhere in the heading.Apple Tree|Oranges|Yellow BananasIgnore headings that are exactly “Apple Tree”, “Oranges” or “Yellow Bananas”.Note: This is not case sensitive. |
PostBlock
Paragraph
Start with the basic building block of all narrative.
Color
Text
Background
Typography
Font size
Dimensions
All options are currently hidden
Border
All options are currently hidden
Attributes
All options are currently hidden
Advanced
Skip to the selected blockOpen publish panel
- Post
- Paragraph
Did You Try Our Recipe ?
Scrumptious
My husband (who is extremely picky) loved the liver & onions so much!! I didn’t have any beef broth or Sherry so I used about a tbl of Worcestershire and 1/4 c of white wine …..it was scrumptious
Response from MeatRecipesBox
Oh wow, I’m so happy to hear that!! 😍 I love that you made it work with what you had on hand — Worcestershire and white wine sound like a delicious twist. So glad your husband enjoyed it, especially being picky! Thank you for sharing your version, it makes me smile knowing it turned out scrumptious!
This was amazing
This recipe turned out really amazing! It’s juicy and spiced deliciously. I definitely would use less of the spicy pepper next time, but it really was delicious and I don’t think I’ll make chicken legs any other way from now on.!
Response from MeatRecipesBox
Thank you for taking the time to leave such a thoughtful review. I’m really glad to hear the recipe turned out juicy and full of flavor for you. That’s exactly what I was hoping for when putting it together. Good call on the spicy pepper as well. Adjusting the heat level to your own taste is always the best approach, and using a little less next time should make it just right for you. I really appreciate you trying the recipe and sharing your experience. It’s great to know it worked so well for you.
I Didn’t Expect This Cornbeef Hash Recipe to Taste This Good!!
One skillet. A handful of simple ingredients. Thirty minutes on the clock. And somehow… I ended up with the crispiest, most comforting cornbeef hash recipe I’ve made in years.
I wasn’t expecting much—just a quick, no-fuss meal. But that first bite? Crispy edges, tender potatoes, smoky corned beef, a little kick of pepper. It tasted like something straight off a cozy diner griddle.
Honestly, it caught me off guard—in the best way. Here’s why this simple skillet completely won me over.


