
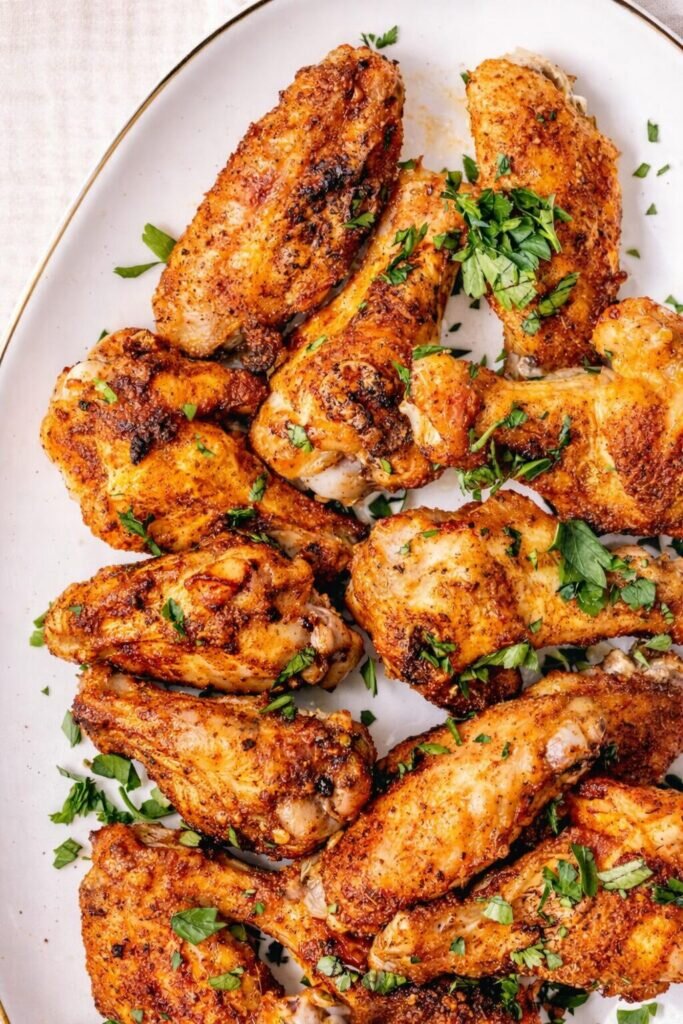
Bake chicken wings at 425°F (220°C) for 45-50 minutes, flipping once at the halfway mark. Pull at 165°F (74°C) internal.
Convection: 40-42 min · Frozen wings: 60-70 min · Air fryer: 22-25 min. Full method breakdown below.
| Method | Oven Temp | Total Time | Flip? | Result |
|---|---|---|---|---|
| Conventional (standard) | 425°F / 220°C | 45-50 min | Yes, halfway | Crisp, juicy |
| Convection | 425°F / 220°C | 40-42 min | Optional | Even brown |
| Lower & slower | 400°F / 205°C | 50-55 min | Yes, at 25 min | Deeper render |
| From frozen | 400°F / 205°C | 60-70 min | Yes, at 35 min | Slightly less crisp |
| Air fryer | 400°F / 205°C | 22-25 min | Shake basket | Fastest, crispiest |
That’s the raw timing. What separates soggy pale wings from shatteringly crisp ones comes down to three variables: a dry brine with baking powder, a wire rack (mandatory), and knowing whether your oven actually hits 425°F. Everything below is how to nail all three.
Key Takeaways
- 425°F for 45-50 min, flip once. Convection shaves ~5 minutes.
- Dry-brine with baking powder (not soda) — raises skin pH, accelerates Maillard browning.
- USDA gate: 165°F (74°C). Pull at 175°F for max collagen breakdown.
- A 2023 NIST study found 78% of home ovens deviate over 20°F from their set point — an oven thermometer is the highest-ROI wing upgrade.
The Full Breakdown by Method
Food science: J. Kenji López-Alt’s oven method at Serious Eats settled on 425°F as the pivot — hot enough to render subcutaneous fat and drive Maillard browning, cool enough to avoid charring the exterior before the interior hits temp.
Why 425°F Is the Sweet Spot
The Maillard reaction — the chemistry behind that golden crust — starts around 285-330°F and peaks between 330-390°F. Skin surface temperature at 425°F oven heat sits squarely in that peak window, which is why 350-375°F gives pale wings even after an hour.
Above 450°F, browning outpaces internal cook time, so the skin can char before the drumette hits 165°F. The 425°F window balances both.
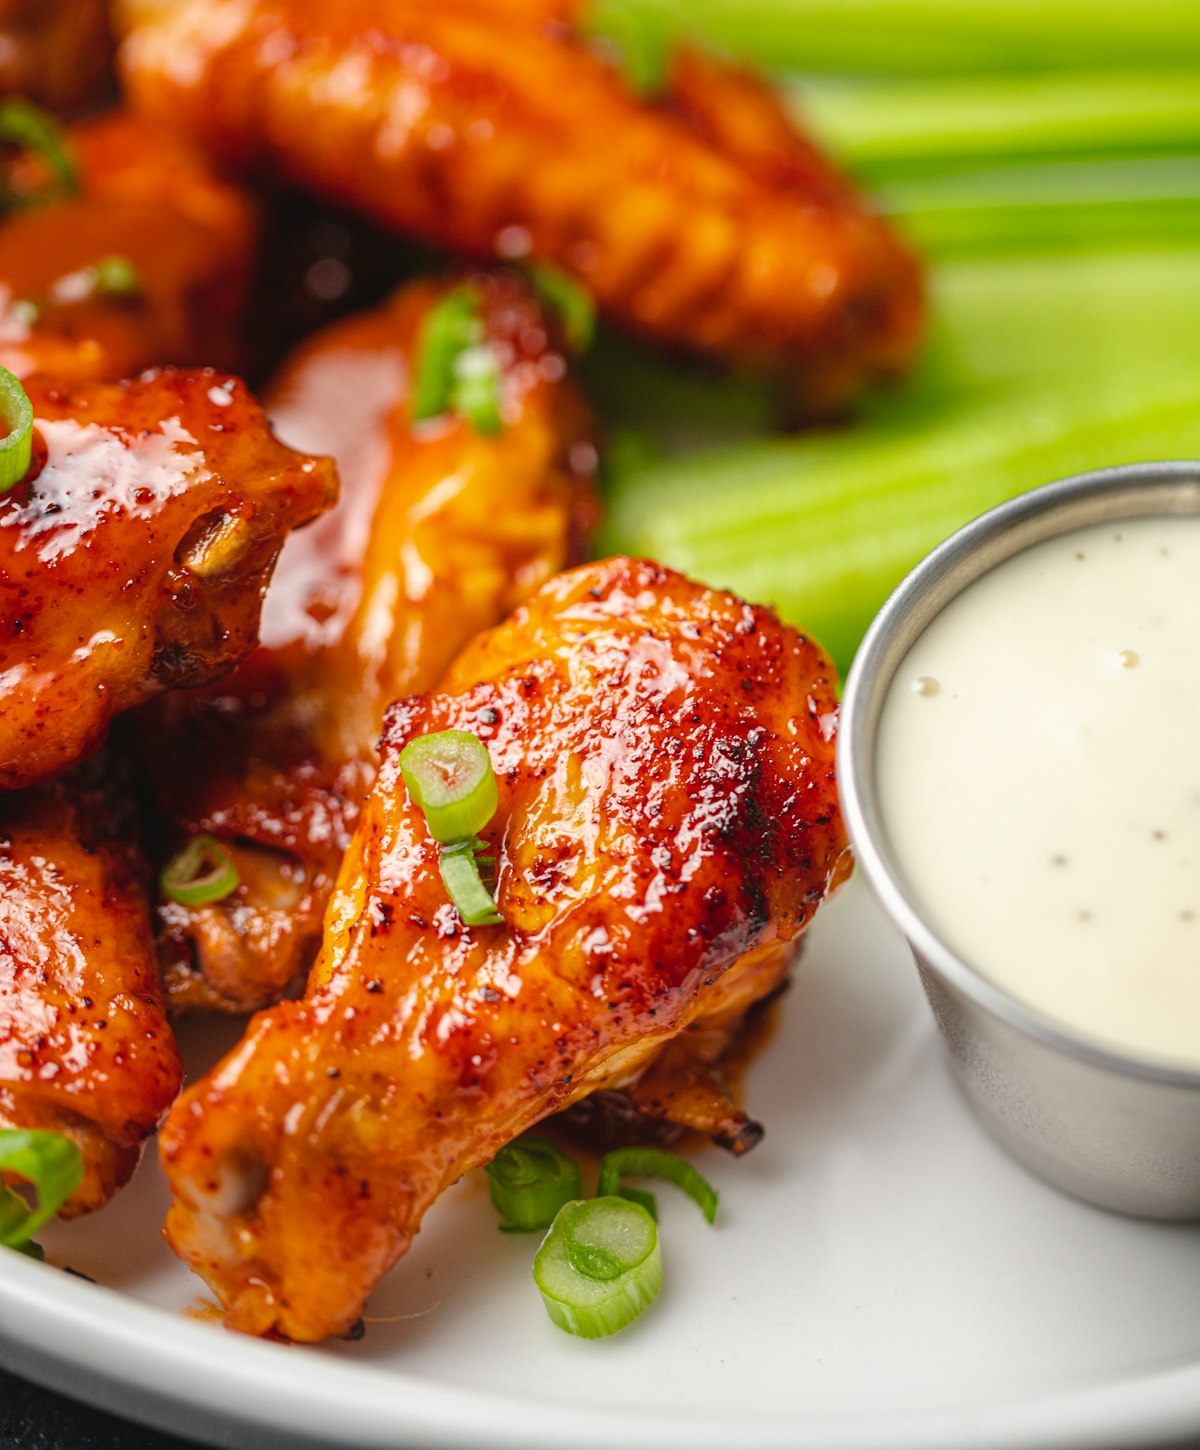
Photo by Chad Montano via Unsplash.
How to Bake Chicken Wings — Step by Step
Meat science: Baking powder (not baking soda) raises the skin’s surface pH. Higher pH breaks peptide bonds, accelerates the Maillard reaction at lower temps, and produces small carbon-dioxide pockets that expand the crust — the mechanism Serious Eats documented and popularized.
- Dry-brine the wings (1-24 hours ahead). Pat wings completely dry with paper towels. Toss with kosher salt, baking powder, and dry spices. Spread on a wire rack over a sheet pan. Refrigerate uncovered at least 1 hour, ideally overnight.
- Preheat to 425°F / 220°C. Position a rack in the upper-middle slot. If you have convection, use it — the fan cuts about 5 minutes off total cook time.
- Lightly oil the wings. Drizzle with 1 tbsp neutral high-smoke-point oil (avocado, refined sunflower). Toss to coat. This helps the rub adhere and promotes uniform browning.
- Roast 25 minutes, skin-side up. The wire rack lets hot air circulate underneath so the skin browns on all sides simultaneously. No steaming from below.
- Flip and roast another 20-25 minutes. The skin should be deeply golden and blistered in spots. Meat pulls back from the bone ends when collagen has broken down.
- Check internal temp. Insert a thermometer into the thickest part of a drumette, away from bone. Target 165°F / 74°C minimum. I pull at 175°F / 79°C for max collagen conversion.
- Glaze and return (optional). Toss in your sauce immediately out of the oven, then return to the rack for 3-4 minutes at 425°F to lacquer the coating.
- Rest 5 minutes. Juices redistribute back into the muscle fibers. Skip this and the juice ends up on the cutting board instead of in the meat.
From my kitchen: I’ve tested dozens of batches, and the single biggest lever is the dry brine — a bare hour uncovered in the fridge makes a more dramatic difference than any fancy marinade ever will.
Pro Tips — Heat Management & Equipment
Food science: A 2023 NIST study found 78% of residential ovens deviate more than 20°F from their set point at 350°F. Normal cycling is ±15-25°F around the target; bimetallic thermostats also drift after about 5,000 thermal cycles (roughly 3 years of weekly use).
The Wire Rack Is Non-Negotiable
Baking wings directly on a sheet pan traps steam from rendered fat underneath the skin. A wire rack elevates them so heat attacks from all directions at once. No rack on hand? Crumple aluminum foil into loose ridges under the wings — it’s a workable stand-in.
Read Your Oven, Not Just the Dial
In my kitchen tests, most residential ovens run 15-25°F cooler than the set temperature — and that matches the NIST calibration data cited above. Use a $10 oven thermometer. If you’re consistently getting pale wings, your oven is likely running cold. Dial up 25°F and retest.
Don’t Crowd the Pan
Wings need at least half an inch of clearance between each piece. Crowding creates a steam micro-environment that softens skin instead of crisping it. Use two sheet pans and rotate their rack positions halfway through for double batches.
Broiler Finish for Extra Crunch
A 2-3 minute broiler blast after the full cook pushes the skin into genuine crackling territory. Watch closely — golden to burnt is about 60 seconds under a broiler.
Recipe Variations
🥵 Buffalo Classic
Toss finished wings in a 2:1 blend of Frank’s RedHot and melted unsalted butter. The fat emulsifies into the hot sauce for a glossy, clinging coat that’s tangy and deeply savory.
🧄 Honey Garlic
Simmer ¼ cup honey, 3 minced garlic cloves, 2 tbsp soy sauce, and 1 tbsp rice vinegar until syrupy. Toss and return to oven for 4 minutes to lacquer.
🥩 Keto Dry Rub
Skip the sauce entirely. Double the smoked paprika, add ½ tsp cayenne and 1 tsp cumin to the dry rub. Zero net carbs, maximum crust. Serve with avocado ranch.
🍋 Lemon Herb
After resting, finish with a squeeze of fresh lemon, chopped flat-leaf parsley, and a drizzle of good olive oil. Light, bright, elegant.
Common Mistakes to Avoid
Not drying the wings before seasoning. Surface moisture turns to steam in the oven, and steam is the enemy of crispy skin. Pat wings completely dry — then dry them again. It sounds excessive until you compare the results side by side.
Pulling before hitting safe internal temp. Color is not a reliable doneness indicator for poultry. Wings can look golden while still under 165°F / 74°C internally. Use a thermometer — every time.
Crowding the baking sheet. More wings per pan means more steam, lower pan temperature, and pale rubbery skin. Two pans is always better than one overcrowded pan.
Saucing too early. Sauce before the wings finish cooking creates a wet insulating layer that blocks browning. Always sauce after the full cook time, then return briefly for the glaze to set.
Skipping the rest. Five minutes lets juices redistribute back into the muscle fibers. Cut wings open immediately after the oven and they bleed onto the plate — that’s flavor and moisture you worked hard to preserve.
Wing Consumption & Baking Trends
Wings are eating up more of the American plate than ever. Americans were projected to eat 1.48 billion wings during Super Bowl LX alone — 10 million more than the previous year, per the National Chicken Council 2026 Wing Report. Nationwide chicken wing units climbed 19.8% year-over-year across the four-week playoff window, with dollars up 11.4%.
What’s shifted alongside that volume is the method mix. Deep frying used to dominate; now baking and air-frying account for the majority of home wing prep — driven by both health preferences and the same food-science understanding that gets you a truly crisp skin in the oven without submerging in a gallon of oil.
Timing tip: Retail wing prices dropped about 2.8% year-over-year to a four-week average of $3.47 per pound in early 2026. Playoff weekends are peak inventory turnover, which typically means fresher wings on the shelf.
Frequently Asked Questions
How long do you cook chicken wings in the oven at 400°F?
At 400°F, expect 50-55 minutes total, flipping once at 25 minutes. The lower temperature needs more time to render fat and hit crispiness. Confirm 165°F / 74°C internal per USDA guidelines.
Can I bake chicken wings from frozen?
Yes — add 15-20 minutes to total cook time and bake at 400°F rather than 425°F so the outside doesn’t burn before the inside thaws. The skin won’t reach peak crispness, but it’s a solid weeknight workaround.
Do I need to flip chicken wings when baking?
On a wire rack, flipping is technically optional since heat circulates underneath. That said, flipping once halfway ensures even browning and a uniform crust on both sides. I always flip — takes 60 seconds and makes a visible difference.
Why are my baked wings not crispy?
The common culprits: wet wings, too much oil, a crowded pan, or an oven running cold (78% do, per NIST). Baking powder in the rub is the single biggest crispness upgrade.
What temperature should chicken wings reach inside?
USDA minimum is 165°F / 74°C for all poultry. For wings specifically, I target 175°F / 79°C — the higher temp breaks down collagen in the joint meat into rich gelatin, keeping it moist rather than stringy.
Can I use an air fryer instead of the oven?
Absolutely. Air-fry at 400°F for 22-25 minutes, shaking the basket halfway. The concentrated convection heat crisps skin exceptionally well — some cooks prefer it to a conventional oven. Batch size is the main limitation.
Save This Baked Wings Guide
Bake at 425°F, dry-brine with baking powder, pull at 165°F — pin it so you have the timing locked in for every batch.
Pin This RecipeDid You Try Our Recipe ?
Chicken hears and gizzards
I would love you to send me the recipe please. I have no printer to print it off. [email protected]
Response from MeatRecipesBox
Hi Sharon, thank you so much for your kind words! I’ve just sent the full recipe to your inbox. Enjoy, and let me know how it turns out! 😊
Scrumptious
My husband (who is extremely picky) loved the liver & onions so much!! I didn’t have any beef broth or Sherry so I used about a tbl of Worcestershire and 1/4 c of white wine …..it was scrumptious
Response from MeatRecipesBox
Oh wow, I’m so happy to hear that!! 😍 I love that you made it work with what you had on hand — Worcestershire and white wine sound like a delicious twist. So glad your husband enjoyed it, especially being picky! Thank you for sharing your version, it makes me smile knowing it turned out scrumptious!
This was amazing
This recipe turned out really amazing! It’s juicy and spiced deliciously. I definitely would use less of the spicy pepper next time, but it really was delicious and I don’t think I’ll make chicken legs any other way from now on.!
Response from MeatRecipesBox
Thank you for taking the time to leave such a thoughtful review. I’m really glad to hear the recipe turned out juicy and full of flavor for you. That’s exactly what I was hoping for when putting it together. Good call on the spicy pepper as well. Adjusting the heat level to your own taste is always the best approach, and using a little less next time should make it just right for you. I really appreciate you trying the recipe and sharing your experience. It’s great to know it worked so well for you.
I Didn’t Expect This Cornbeef Hash Recipe to Taste This Good!!
One skillet. A handful of simple ingredients. Thirty minutes on the clock. And somehow… I ended up with the crispiest, most comforting cornbeef hash recipe I’ve made in years.
I wasn’t expecting much—just a quick, no-fuss meal. But that first bite? Crispy edges, tender potatoes, smoky corned beef, a little kick of pepper. It tasted like something straight off a cozy diner griddle.
Honestly, it caught me off guard—in the best way. Here’s why this simple skillet completely won me over.


