
A chicken pot pie with Bisquick delivers everything you love about the classic — a bubbling, savory filling packed with tender chicken and vegetables under a golden, fluffy topping — without rolling a single sheet of pastry. Bisquick replaces the pastry crust with a thick, biscuit-style batter that bakes directly over the filling, puffing up in the oven into a soft, golden-brown top that soaks up the creamy sauce beneath it. I’ve tested this recipe extensively and found that the key to genuinely tender chicken isn’t just the cut — it’s the temperature you pull it at and how you handle it before it goes into the filling.

- Excellent heat retention for slow-cooked flavor
- Large 7-quart capacity ideal for family meals
- Pre-seasoned cast iron ready to cook right away
- Heavy lid locks in moisture and flavor
- Perfect for stews, soups, braising, and pot pie filling
- Large 7-quart capacity ideal for family meals
- Pre-seasoned cast iron ready to cook right away
- Heavy lid locks in moisture and flavor
- Perfect for stews, soups, braising, and pot pie filling
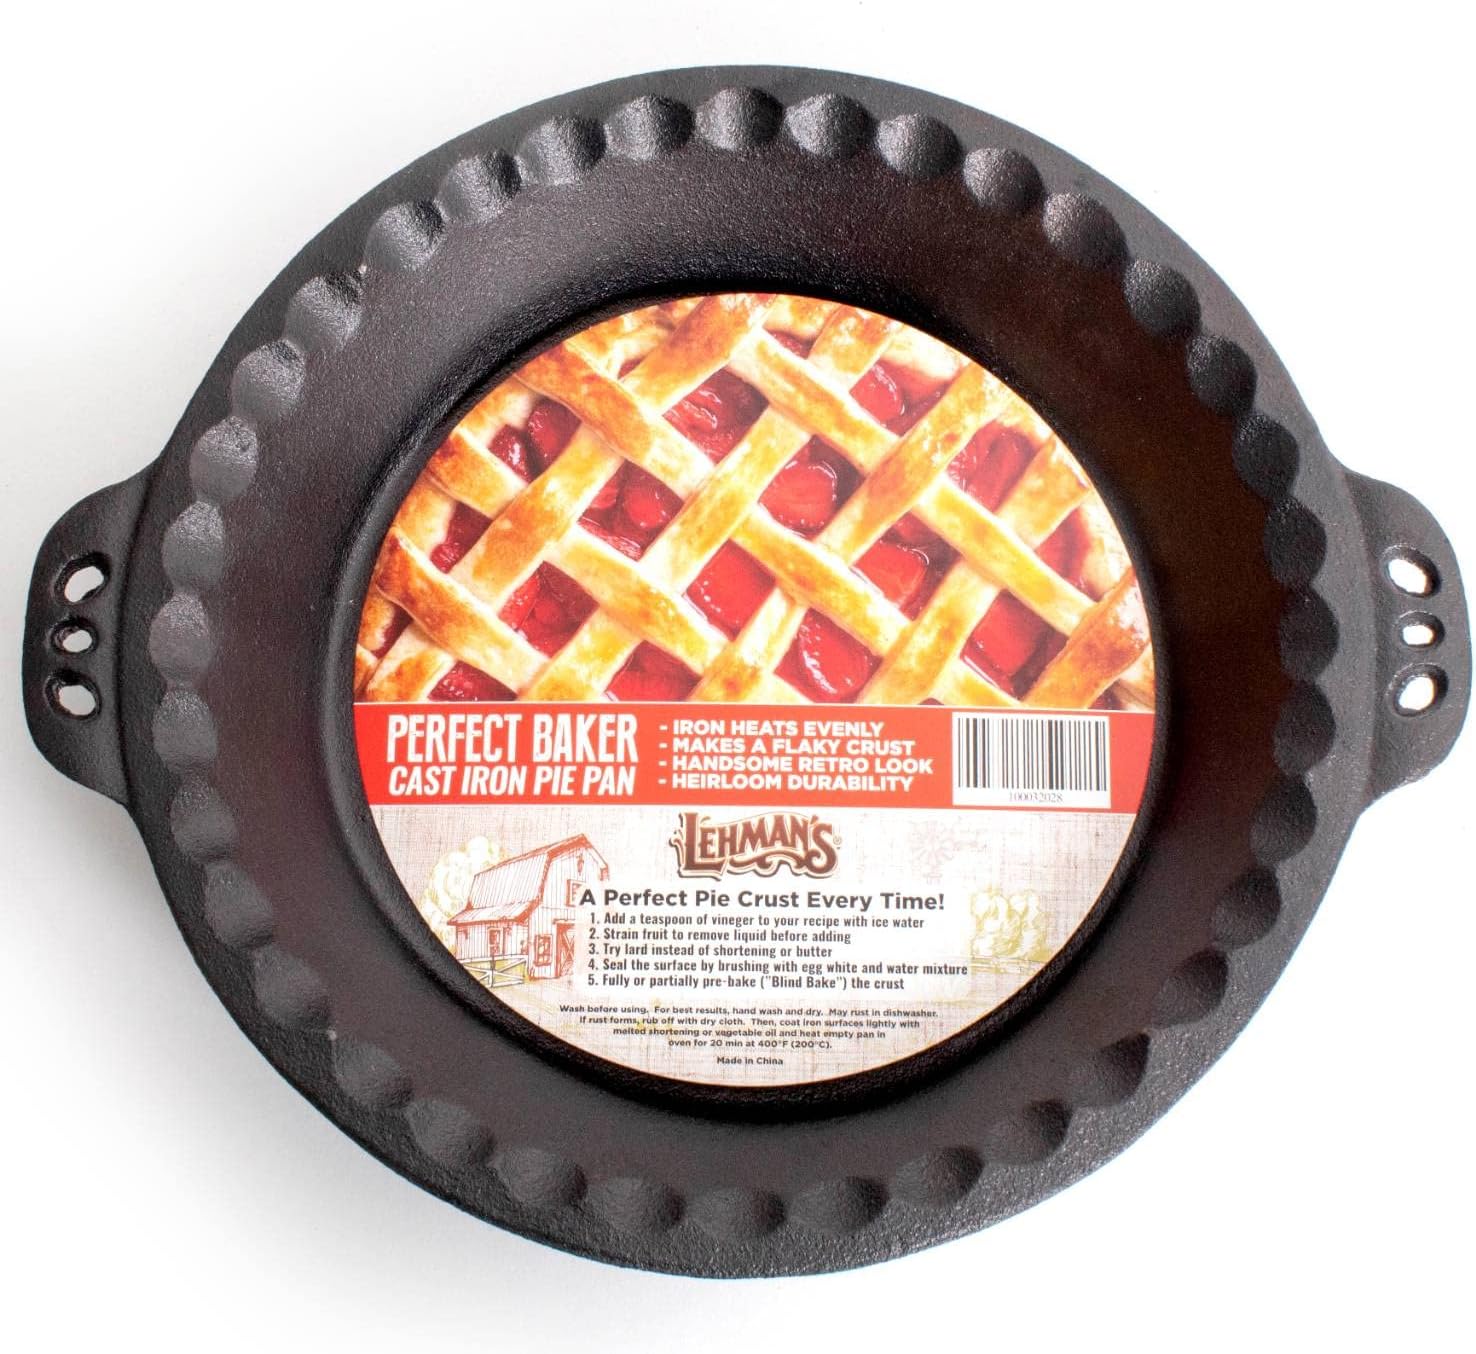
- Even heat distribution for perfectly baked, golden crusts
- Extra-deep design (1.75") ideal for hearty chicken pot pies
- Heavy cast iron keeps pies warm longer after baking
- Crimped edges create beautiful bakery-style pies
- Durable cookware that can last for decades with proper care
This version comes together in under an hour, uses pantry staples, and produces a deeply cozy result that tastes like it took far longer to make.
Why You’ll Love This Recipe
Bisquick pot pie solves the one friction point that stops most people from making pot pie on a weeknight: the crust. Traditional double-crust pot pie requires cold butter, precise rolling, and careful crimping. Bisquick eliminates all of that and replaces it with a two-minute batter pour.
The Bisquick topping bakes differently from pastry — and that’s a feature. Unlike a flaky laminated crust, the Bisquick layer absorbs the steam rising from the filling and develops a slightly custardy underside while the top browns and sets firm. The result is a topping that’s simultaneously crispy on top, pillowy in the middle, and savory-saucy where it meets the filling. No pastry achieves that texture combination.
Tender chicken is a science result, not luck. Overcooking dries out the muscle fibers regardless of the cut. Using thigh meat — which has roughly 9–11% intramuscular fat — provides a fat buffer that keeps the chicken moist even if it goes a degree or two past the target temperature. I’ve found that pulling thighs at exactly 165°F (74°C) and shredding them against the grain produces pieces that stay juicy through the full 35-minute bake without seizing up.
It’s a genuine weeknight lifesaver. Fifteen minutes of prep, one baking dish, and a filling that’s almost impossible to overcook — this recipe earns its place in regular rotation.
The Butcher’s Selection
For chicken pot pie with Bisquick, the filling chicken choice is the single most impactful quality decision. Boneless, skinless chicken thighs are the correct cut — their higher fat content (9–11% vs. 2–3% in breast meat) means they stay juicy and produce a richer-tasting filling. Breast meat works in a pinch but requires precise temperature control to avoid a dry, fibrous result.
- For the filling
- 1.5 lbs (680g) boneless, skinless chicken thighs — or cooked shredded rotisserie chicken
- 3 tbsp unsalted butter
- 1 medium yellow onion, finely diced
- 3 cloves garlic, minced
- 3 medium carrots, cut into ½-inch coins
- 2 celery stalks, sliced
- 1 cup frozen peas — added off heat to preserve color and texture
- ⅓ cup all-purpose flour
- 1¾ cups chicken stock (low-sodium)
- ¾ cup whole milk
- 1 tsp fresh thyme leaves (or ½ tsp dried)
- Salt and freshly cracked black pepper
- For the Bisquick topping
- 1 cup Bisquick Original baking mix
- ½ cup whole milk
- 1 large egg
- ¼ tsp garlic powder (optional — adds a subtle savory note)
How to Make Chicken Pot Pie with Bisquick
The method below cooks the chicken fresh and builds the filling from scratch. If you’re using pre-cooked rotisserie chicken, skip steps 1–2 and start directly from the filling build in step 3.
- Cook the chicken thighs. Season both sides with salt and pepper. Heat a skillet over medium-high heat with a thin layer of oil. Sear the thighs for 5–6 minutes per side until the internal temperature reaches 165°F / 74°C USDA safe minimum. For genuinely tender chicken, pull the thighs at exactly 165°F — every degree beyond that tightens the muscle fibers and squeezes moisture out of the meat. Rest 5 minutes before handling.
- Shred against the grain. Identify the direction of the long muscle fibers running through each thigh — they run lengthwise. Use two forks to pull the meat perpendicular to those fibers. Cutting with the grain gives you long, stringy strands; shredding against it gives you short, tender pieces that hold their shape in the filling rather than disintegrating.
- Preheat your oven to 400°F (204°C). Build the filling in a wide oven-safe skillet or saucepan. Melt butter over medium heat. Add onion and celery; cook 4 minutes until softened. Add garlic and cook 1 minute. Add flour and stir for 2 minutes until the raw starch taste cooks out and the mixture smells faintly nutty — this is your roux, and those 2 minutes are non-negotiable for a smooth, clean-tasting sauce.
- Add the liquids gradually. Pour in chicken stock in a slow, steady stream while whisking constantly to prevent lumps. Add the milk and bring to a gentle simmer, stirring until the sauce thickens enough to coat the back of a spoon. Season with thyme, salt, and pepper. Stir in the shredded chicken and carrots. Remove from heat and fold in the frozen peas — their natural sugars and bright color break down rapidly with continued heat, so off-heat addition preserves both.
- Transfer filling to a 9×13-inch baking dish if your skillet isn’t oven-safe. Spread it evenly. The filling should be thick and glossy, not runny — if it looks too thin, return to heat for 2–3 minutes before transferring.
- Make the Bisquick topping. Whisk together Bisquick, milk, egg, and garlic powder in a bowl until just combined — 15–20 strokes maximum. Overmixing develops gluten in the Bisquick’s wheat starch, producing a dense, rubbery topping instead of a light, fluffy one. A few lumps in the batter are correct. Pour and spread the batter evenly over the hot filling, reaching all the way to the edges of the dish.
- Bake at 400°F (204°C) for 28–35 minutes until the Bisquick topping is deep golden brown, set firm to the touch, and the filling is visibly bubbling at the edges. The topping is done when a toothpick inserted in the center comes out clean and the surface has no shiny, wet patches. Rest 8–10 minutes before serving — the filling needs time to re-thicken slightly after the intense oven heat.
Pro Cooking Tips
Make sure the filling is hot when you add the Bisquick batter. Pouring batter over a cold or room-temperature filling slows the leavening reaction and delays the bottom of the topping from setting. A hot filling starts puffing the batter immediately from below, giving you a lighter, taller topping with better texture separation between the crispy top and the soft underside.
Don’t spread the Bisquick batter too thin. Aim for an even layer at least ½ inch thick across the entire surface. Too thin and the topping bakes through completely, losing the custardy interior layer that makes Bisquick pot pie texturally distinct from pastry-topped versions. Pour generously and let the batter self-level.
Use an oven-safe skillet for a one-pan method. Building the filling and baking the pie in the same cast-iron or stainless skillet saves cleanup and delivers more even heat distribution from the skillet’s thermal mass — the thick base keeps the filling at a consistent temperature during the bake, preventing hot spots that can scorch the bottom layer.
For a thorough breakdown of Bisquick batter ratios and consistency across different pot pie sizes and depths, Insanely Good Recipes’ Bisquick chicken pot pie guide covers batter thickness and timing variation in useful detail — a solid cross-reference if you’re scaling this recipe up or down.
Recipe Variations
🥣 Individual Ramekins
Divide the filling equally among six 8-oz oven-safe ramekins. Top each with a generous spoonful of Bisquick batter. Bake at 400°F (204°C) for 20–22 minutes. Individual portions bake faster, develop a higher topping-to-filling ratio, and present beautifully for a dinner party or meal prep portioning.
⚡ Instant Pot Filling
Cook raw chicken thighs in the Instant Pot on HIGH pressure for 10 minutes with a 5-minute natural release. Shred directly in the pot. Switch to Sauté, build the roux and sauce in the same insert, then transfer to a baking dish, top with Bisquick batter, and bake at 400°F (204°C) for 28–30 minutes.
🥑 Gluten-Free Version
Swap regular Bisquick for Bisquick Gluten Free baking mix — the ratio is identical (1 cup mix + ½ cup milk + 1 egg). Replace the all-purpose flour in the filling with an equal amount of cornstarch. The texture of the topping is slightly more dense but still bakes golden and fully sets.
🧀 Cheddar Herb Topping Twist
Stir ½ cup of sharp shredded cheddar and 1 tablespoon of chopped fresh chives into the Bisquick batter before pouring. The cheese melts into the topping as it bakes, creating pockets of richness throughout and a deeply savory, slightly crispy surface with a golden, speckled finish.
What to Serve With This Dish
Chicken pot pie with Bisquick is rich, starchy, and deeply satisfying on its own. The best sides contrast that richness rather than adding to it — think acid, bitterness, or freshness.
- 🥗 Crisp romaine salad with lemon and Dijon dressing
- 🍎 Sliced apple and fennel slaw with cider vinegar
- 🥦 Steamed or roasted broccolini with lemon zest
- 🫙 Quick-pickled red onions for sharpness
- 🍵 Light vegetable broth soup to start
If you want to explore a traditional pastry-crust version alongside this Bisquick method, the easy chicken pot pie recipe on this site uses a classic double-crust technique with the same filling base — worth bookmarking for when you have the extra time for pastry.
Storage & Meal Prep
The Bisquick topping softens significantly in storage as it absorbs moisture from the filling — plan for this and reheat accordingly to bring it back to something close to its fresh texture.
Nutritional Information
Per serving (one-sixth of a 9×13-inch dish, filling plus Bisquick topping). Values are estimates.
| Nutrient | Per Serving | % Daily Value* |
|---|---|---|
| Calories | 492 kcal | — |
| Total Fat | 22g | 28% |
| Saturated Fat | 9g | 45% |
| Protein | 34g | 68% |
| Total Carbohydrate | 42g | 15% |
| Dietary Fiber | 3g | 11% |
| Sodium | 720mg | 31% |
| Iron | 2.2mg | 12% |
| Calcium | 130mg | 10% |
*Percent Daily Values based on a 2,000-calorie diet. Nutritional values are approximate and vary with chicken cut and milk fat content used.
Common Mistakes to Avoid
FAQs
Fluffy Topping, Zero Fuss?
Save this easy chicken pot pie with Bisquick recipe to your Pinterest boards — one pin means one more weeknight dinner sorted without the stress of pastry.
Save to Pinterest
Easy Chicken Pot Pie with Bisquick
A chicken pot pie with Bisquick delivers everything you love about the classic — a bubbling, savory filling packed with tender chicken and vegetables under a golden, fluffy topping — without rolling a single sheet of pastry.
- 1.5 lbs boneless, skinless chicken thighs
- 3 tbsp unsalted butter
- 1 medium yellow onion finely diced
- 3 cloves garlic minced
- 3 medium carrots cut into ½-inch coins
- 2 stalks celery sliced
- 1 cup frozen peas
- ⅓ cup all-purpose flour
- 1¾ cups chicken stock low-sodium
- ¾ cup whole milk
- 1 tsp fresh thyme leaves
- Salt and freshly cracked black pepper
- 1 cup Bisquick Original baking mix
- ½ cup whole milk
- 1 large egg
- ¼ tsp garlic powder optional
How to Make Chicken Pot Pie with Bisquick
Cook the chicken thighs. Season both sides with salt and pepper. Heat a skillet over medium-high heat with a thin layer of oil. Sear the thighs for 5–6 minutes per side until the internal temperature reaches 165°F / 74°C USDA safe minimum.
Shred against the grain. Identify the direction of the long muscle fibers running through each thigh — they run lengthwise. Use two forks to pull the meat perpendicular to those fibers.
Preheat your oven to 400°F (204°C). Build the filling in a wide oven-safe skillet or saucepan. Melt butter over medium heat. Add onion and celery; cook 4 minutes until softened. Add garlic and cook 1 minute.
Add the liquids gradually. Pour in chicken stock in a slow, steady stream while whisking constantly to prevent lumps. Add the milk and bring to a gentle simmer, stirring until the sauce thickens enough to coat the back of a spoon.
Season with thyme, salt, and pepper. Stir in the shredded chicken and carrots. Remove from heat and fold in the frozen peas — their natural sugars and bright color break down rapidly with continued heat, so off-heat addition preserves both.
Transfer filling to a 9×13-inch baking dish if your skillet isn't oven-safe. Spread it evenly. The filling should be thick and glossy, not runny — if it looks too thin, return to heat for 2–3 minutes before transferring.
Make the Bisquick topping. Whisk together Bisquick, milk, egg, and garlic powder in a bowl until just combined — 15–20 strokes maximum.
Pour and spread the batter evenly over the hot filling, reaching all the way to the edges of the dish.
Bake at 400°F (204°C) for 28–35 minutes until the Bisquick topping is deep golden brown, set firm to the touch, and the filling is visibly bubbling at the edges.
Rest 8–10 minutes before serving — the filling needs time to re-thicken slightly after the intense oven heat.
- skillet
- saucepan
- 9×13-inch baking dish
- oven
Did You Try Our Recipe ?
Scrumptious
My husband (who is extremely picky) loved the liver & onions so much!! I didn’t have any beef broth or Sherry so I used about a tbl of Worcestershire and 1/4 c of white wine …..it was scrumptious
Response from MeatRecipesBox
Oh wow, I’m so happy to hear that!! 😍 I love that you made it work with what you had on hand — Worcestershire and white wine sound like a delicious twist. So glad your husband enjoyed it, especially being picky! Thank you for sharing your version, it makes me smile knowing it turned out scrumptious!
This was amazing
This recipe turned out really amazing! It’s juicy and spiced deliciously. I definitely would use less of the spicy pepper next time, but it really was delicious and I don’t think I’ll make chicken legs any other way from now on.!
Response from MeatRecipesBox
Thank you for taking the time to leave such a thoughtful review. I’m really glad to hear the recipe turned out juicy and full of flavor for you. That’s exactly what I was hoping for when putting it together. Good call on the spicy pepper as well. Adjusting the heat level to your own taste is always the best approach, and using a little less next time should make it just right for you. I really appreciate you trying the recipe and sharing your experience. It’s great to know it worked so well for you.
I Didn’t Expect This Cornbeef Hash Recipe to Taste This Good!!
One skillet. A handful of simple ingredients. Thirty minutes on the clock. And somehow… I ended up with the crispiest, most comforting cornbeef hash recipe I’ve made in years.
I wasn’t expecting much—just a quick, no-fuss meal. But that first bite? Crispy edges, tender potatoes, smoky corned beef, a little kick of pepper. It tasted like something straight off a cozy diner griddle.
Honestly, it caught me off guard—in the best way. Here’s why this simple skillet completely won me over.

Emma Delacourt
Recipe Developer & Founder, MeatRecipesBox
Emma has been developing and testing meat recipes since 2019. She focuses on temperature precision, food science, and making restaurant-quality results accessible for home cooks. Every recipe on this site is tested multiple times before publishing.


