

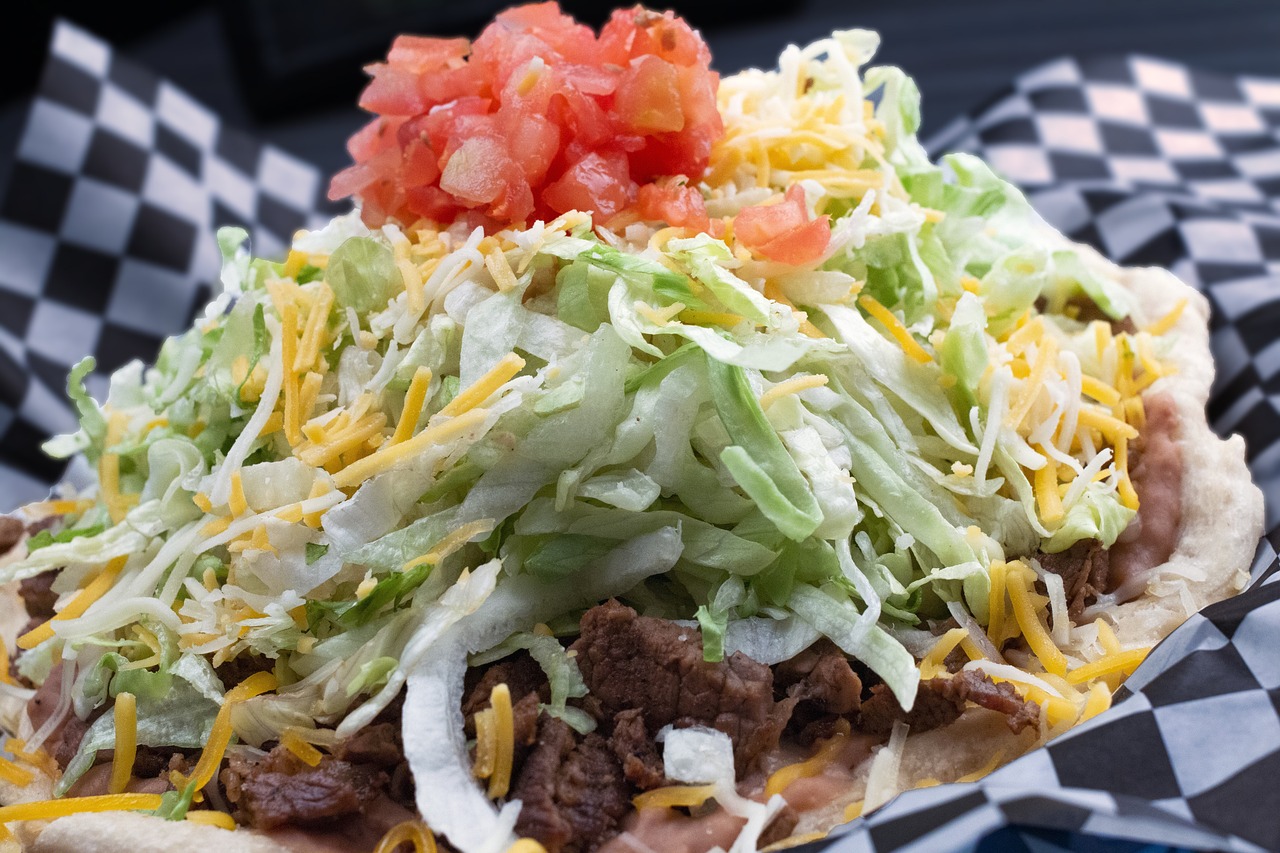
What actually makes a chimichanga (and not just a fried burrito)?
The difference is the wrap and the finish. A chimichanga uses a large flour tortilla folded burrito-style, then submerged in hot oil until the surface blisters and the seam locks itself shut. The Sonoran-style version popularized by Pati Jinich and the Tex-Mex versions you see at Chi-Chi’s copycats both hit the same three notes: dry-ish filling, tight seam, hot oil.
If the filling is soupy the tortilla splits mid-fry and you’ll be scooping ground beef out of the pot. Drain the beef well and let the refried beans stiffen up before you assemble — that’s the single biggest fix for a first-time cook.
Ingredients for four beef chimichangas
Working from a pantry list? Cross-check our Mexican pantry essentials before you start — the spice blend does the heavy lifting here.
For the filling
- 1 lb (450 g) ground beef, 80/20
- 1 small yellow onion, finely diced
- 2 garlic cloves, minced
- 1 tbsp chili powder
- 1½ tsp ground cumin
- 1 tsp dried oregano (Mexican if you have it)
- ½ tsp smoked paprika
- ¾ tsp fine salt, plus pepper
- 1 cup (240 ml) refried beans
- ½ cup (120 ml) tomato sauce or salsa roja
- 1 small can diced green chiles, drained
To assemble & fry
- 4 burrito-size flour tortillas (10-inch / 25 cm)
- 1½ cups (170 g) shredded sharp cheddar or Colby Jack
- Neutral oil for frying (canola, peanut, avocado) — about 2 inches deep
- Optional toothpicks to hold the seam during the first flip
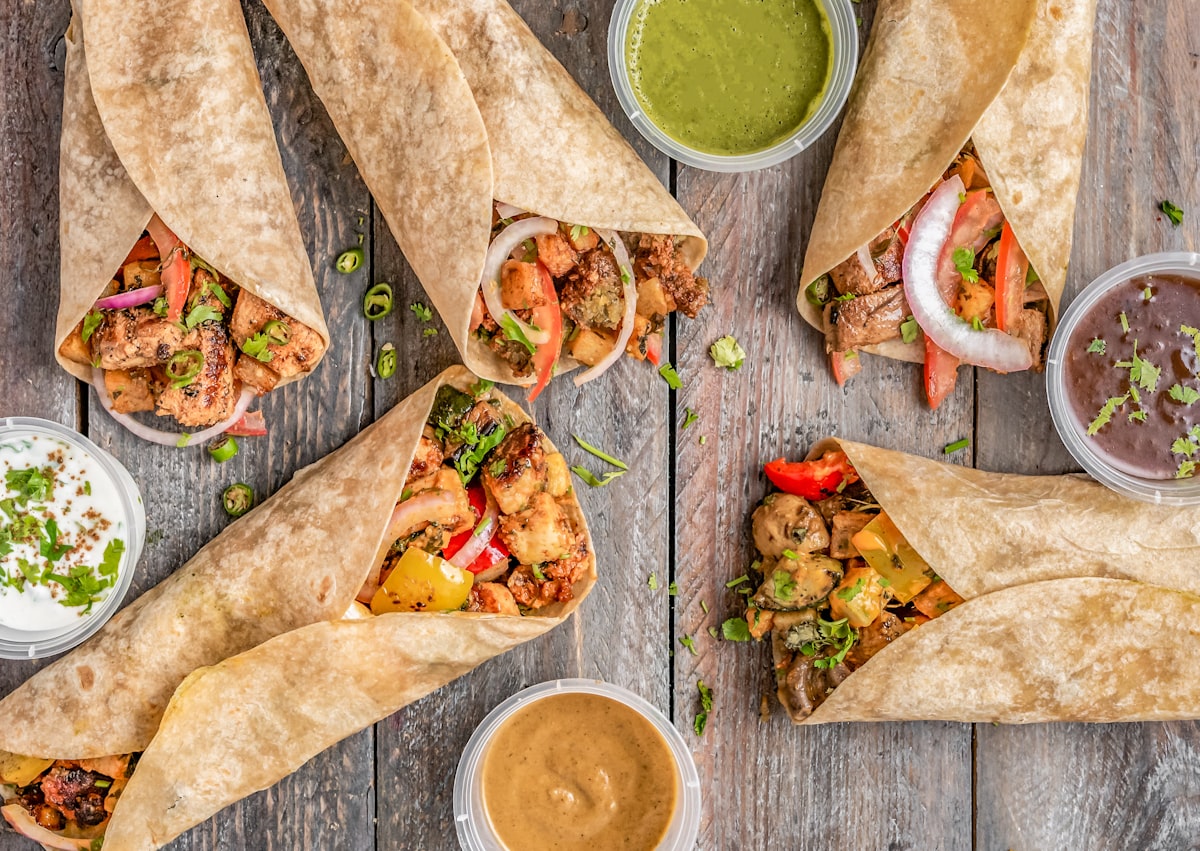
Step-by-step: from cold skillet to crackling crust
- Brown the beef. Heat a dry skillet over medium-high. Add the ground beef, break it up, and cook 5–6 minutes. Drain off all but a tablespoon of fat — this is non-negotiable, wet filling equals a burst chimichanga.
- Sweat the aromatics. Push the beef to one side, drop in the onion, cook 3 minutes, then garlic for 30 seconds.
- Bloom the spices. Stir in chili powder, cumin, oregano, paprika, salt and pepper. Toast 45 seconds — you’ll smell it turn from raw to warm.
- Bind it. Add refried beans, tomato sauce and green chiles. Simmer 2–3 minutes until the mixture holds its shape on a spoon. Prefer to make the beans from scratch? Our homemade refried beans recipe gives you the thicker, drier texture that keeps the shell from splitting. Cool 5 minutes before wrapping.
- Warm the tortillas. 15 seconds a side in a dry pan or 20 seconds in the microwave under a damp towel. Cold tortillas crack, warm ones fold.
- Wrap tight. Spoon ¾ cup filling and a generous handful of cheese onto the bottom third of the tortilla. Fold the bottom up and over, fold both sides in, then roll away from you. Pin the seam with a toothpick.
- Fry. Heat 2 inches of oil to 375°F (190°C) in a Dutch oven — a clip-on thermometer is worth the eight bucks. Fry seam-side down first, 90 seconds, flip with tongs, another 60–90 seconds until deep gold.
- Drain and rest. Set on a wire rack (never paper towels — steam softens the shell) for 2 minutes before serving.
Watch the whole method in five minutes
The clip above walks the wrap-and-fry sequence in real time — worth a look if this is your first chimichanga, because the tuck at the sides is easier to see than to describe.
Baked and air-fryer versions (same crunch, less oil)
Oven method
Preheat to 400°F (205°C). Brush every side of the assembled chimichangas with melted butter or a light film of oil, seam-side down on a parchment-lined sheet. Bake 15 minutes, flip, another 5–7 minutes. You lose a fraction of the deep-fry bubbles but keep most of the crackle.
Air fryer method
Spritz with oil, load seam-side down in a single layer, cook at 375°F for 8 minutes, flip, 4 more minutes. This is the version I default to on weeknights — it hits the same color as the fryer with roughly two teaspoons of oil per chimichanga instead of two cups.
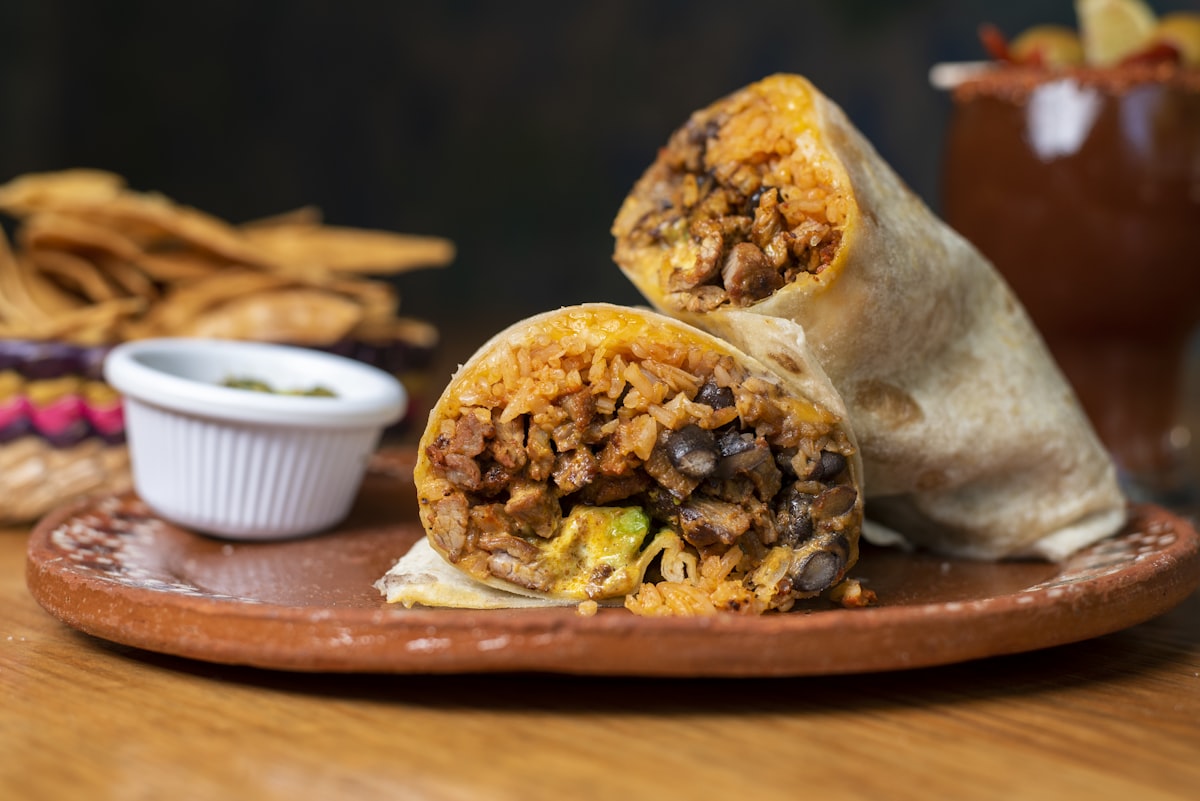
What to serve with beef chimichangas
Chimichangas are rich, so the sides should cut through. Shredded iceberg or romaine underneath, a spoon of pico de gallo, a wedge of avocado or a drizzle of crema. I skip the queso blanco pour — the shell is already the star, don’t drown it.
For a full plate, pair with our restaurant-style Mexican rice or a bowl of authentic pico de gallo — both hit in about 15 minutes while the chimichangas rest.
Emma’s fix-it notes
- Shell splits in the oil? Filling was too wet, or the seam wasn’t tucked. Toothpick the first fold next time.
- Pale, greasy crust? Oil dropped below 350°F. Fry two at a time, not four.
- Filling leaks out the ends? Fold the sides in before rolling — a lot of people skip that step.
Common questions
Can I use shredded beef instead of ground?
Yes, and many cooks prefer it. Slow-cooked chuck or leftover barbacoa gives you a richer filling — see this shredded beef chimichanga variation from Kevin Is Cooking. If you’re starting from a chuck roast, follow our slow-cooker shredded beef method and drain it well before wrapping. Same wrap, same fry temp.
Can I make them ahead?
Assemble, wrap each one in plastic, and refrigerate up to 24 hours. Fry straight from the fridge — the cold slows the oil enough to color the shell evenly. For longer storage, freeze pre-fry on a tray, bag them once solid, and fry from frozen for about 4 minutes per side at 350°F.
How do I reheat leftover chimichangas?
Air fryer at 375°F for 4 minutes brings the crust back. The same technique works for our classic beef burritos and any other fried tortilla dish. Microwave works for the filling but the shell turns to a napkin — skip it.
What oil is best for frying?
Any neutral oil with a smoke point above 400°F. Canola and peanut are cheap and reliable, avocado oil is cleaner-tasting if you can spare it. Olive oil burns too low.
Is a chimichanga the same as a burrito?
Same envelope, different finish. A burrito is served soft; a chimichanga is deep-fried until the tortilla blisters into a shell. That crunch is the whole point.
Did You Try Our Recipe ?
Chicken hears and gizzards
I would love you to send me the recipe please. I have no printer to print it off. [email protected]
Response from MeatRecipesBox
Hi Sharon, thank you so much for your kind words! I’ve just sent the full recipe to your inbox. Enjoy, and let me know how it turns out! 😊
Scrumptious
My husband (who is extremely picky) loved the liver & onions so much!! I didn’t have any beef broth or Sherry so I used about a tbl of Worcestershire and 1/4 c of white wine …..it was scrumptious
Response from MeatRecipesBox
Oh wow, I’m so happy to hear that!! 😍 I love that you made it work with what you had on hand — Worcestershire and white wine sound like a delicious twist. So glad your husband enjoyed it, especially being picky! Thank you for sharing your version, it makes me smile knowing it turned out scrumptious!
This was amazing
This recipe turned out really amazing! It’s juicy and spiced deliciously. I definitely would use less of the spicy pepper next time, but it really was delicious and I don’t think I’ll make chicken legs any other way from now on.!
Response from MeatRecipesBox
Thank you for taking the time to leave such a thoughtful review. I’m really glad to hear the recipe turned out juicy and full of flavor for you. That’s exactly what I was hoping for when putting it together. Good call on the spicy pepper as well. Adjusting the heat level to your own taste is always the best approach, and using a little less next time should make it just right for you. I really appreciate you trying the recipe and sharing your experience. It’s great to know it worked so well for you.
I Didn’t Expect This Cornbeef Hash Recipe to Taste This Good!!
One skillet. A handful of simple ingredients. Thirty minutes on the clock. And somehow… I ended up with the crispiest, most comforting cornbeef hash recipe I’ve made in years.
I wasn’t expecting much—just a quick, no-fuss meal. But that first bite? Crispy edges, tender potatoes, smoky corned beef, a little kick of pepper. It tasted like something straight off a cozy diner griddle.
Honestly, it caught me off guard—in the best way. Here’s why this simple skillet completely won me over.


