

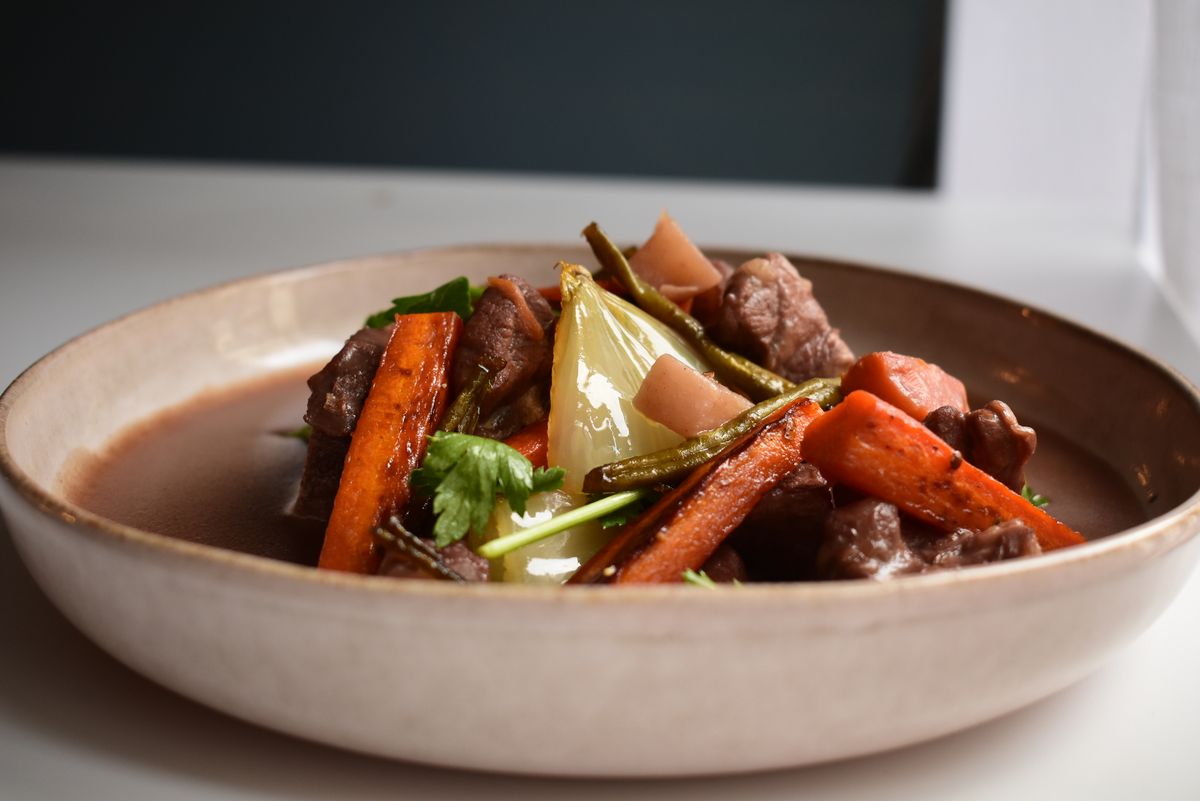
Why the Instant Pot matches an 8-hour braise
Collagen (the tough connective tissue in stew meat) starts breaking down into gelatin around 160°F and finishes the job somewhere between 195–205°F. A pressure cooker holds 245–250°F while sealed, which pushes the reaction into overdrive — Serious Eats measured a full braise in 35 minutes of pressure vs 3+ hours in a Dutch oven. Slow cookers run at 200°F max, which is why they need 8 hours to hit the same texture.
What you don’t get in a pressure cooker: reduction. Sealed vessels can’t evaporate liquid, so the sauce comes out thinner than a stove-top braise. That’s why the last 5 minutes on Sauté with a cornstarch slurry are not optional — it’s what pulls the flavor back from watery to spoon-coating. Same principle as our 30-minute beef and noodles, just under pressure instead of a simmer.
The one-glance time comparison
| Method | Active time | Total time | Texture verdict |
|---|---|---|---|
| Instant Pot (this recipe) | 15 min | 45 min | Fall-apart tender, sauce a little thin (fix with slurry) |
| Stove-top Dutch oven | 25 min | 3 h | Fall-apart tender, deeper reduced sauce |
| Slow cooker low | 15 min | 8 h | Very tender, vegetables mushier, weaker beef flavor |
| Slow cooker high | 15 min | 4 h | Tender but not fall-apart, sauce watery |
| Oven braise 300°F | 20 min | 3 h 15 min | Best flavor development, most reduction |
Ingredients (6-quart Instant Pot, serves 6)
| Ingredient | Amount | Notes |
|---|---|---|
| Chuck roast | 2 lb, cubed 1½-inch | Chuck only — round or sirloin turn dry |
| Neutral oil | 2 tbsp | For searing on Sauté |
| Yellow onion | 1 large, chopped | Coarse chop |
| Garlic | 4 cloves, minced | Added after onion softens |
| Tomato paste | 2 tbsp | Toasted 60 seconds — this is not optional |
| Dry red wine (or extra broth) | 1 cup | For deglazing; a lighter cabernet works |
| Low-sodium beef broth | 3 cups | Total liquid must reach 4 cups minimum |
| Worcestershire | 2 tbsp | The savory depth booster |
| Baby potatoes | 1 lb, halved | Yukon gold; russet turns to mush |
| Carrots | 4 medium, 1½-inch chunks | Big pieces — small ones dissolve |
| Fresh thyme + bay leaf | 4 sprigs + 1 leaf | Dried thyme (1 tsp) works |
| Cornstarch | 2 tbsp | Mixed with 3 tbsp cold water at the end |
| Frozen peas | 1 cup (optional) | Stirred in at the very end with residual heat |
| Salt + black pepper | To taste | Salt the beef before searing |
Step-by-step (15 minutes active)
- Sear the beef (8 min). Season chuck cubes with 1 tsp salt and ½ tsp pepper. Set Instant Pot to Sauté Hi, add 1 tbsp oil. Sear the beef in 2 batches, 3–4 minutes per batch, only turning to brown 2 sides. Move to a plate. This step is the entire flavor of the stew.
- Build the base (3 min). Add the remaining 1 tbsp oil and the onion to the pot. Cook 2 minutes until softening. Add garlic and tomato paste, stir constantly for 60 seconds until the paste turns brick-red — this caramelizes the sugars and is why weak beef stew tastes flat.
- Deglaze (1 min). Pour in the wine (or 1 cup broth). Scrape every brown bit off the bottom with a wooden spoon. Any fond left stuck will trigger a “burn” warning during pressurization.
- Load the pot (1 min). Add beef back with its juices, then the remaining 3 cups broth, Worcestershire, thyme and bay leaf. Layer the potatoes and carrots on top — do not stir them in. Turn off Sauté.
- Pressure cook (35 min + 15 min pressurize + 10 min NR). Lid on, valve to Sealed. Manual High Pressure, 35 minutes. When the timer beeps, let it natural-release for 10 minutes, then quick-release the rest. Total from press-start: about 60 minutes; active time was 12.
- Thicken (5 min). Fish out the bay leaf and thyme stems. Turn back to Sauté Hi. Whisk cornstarch with 3 tbsp cold water in a small bowl until smooth, then stream it into the bubbling stew, stirring for 2 minutes until it coats a spoon. Stir in peas if using; they warm through in 60 seconds. Season to taste.
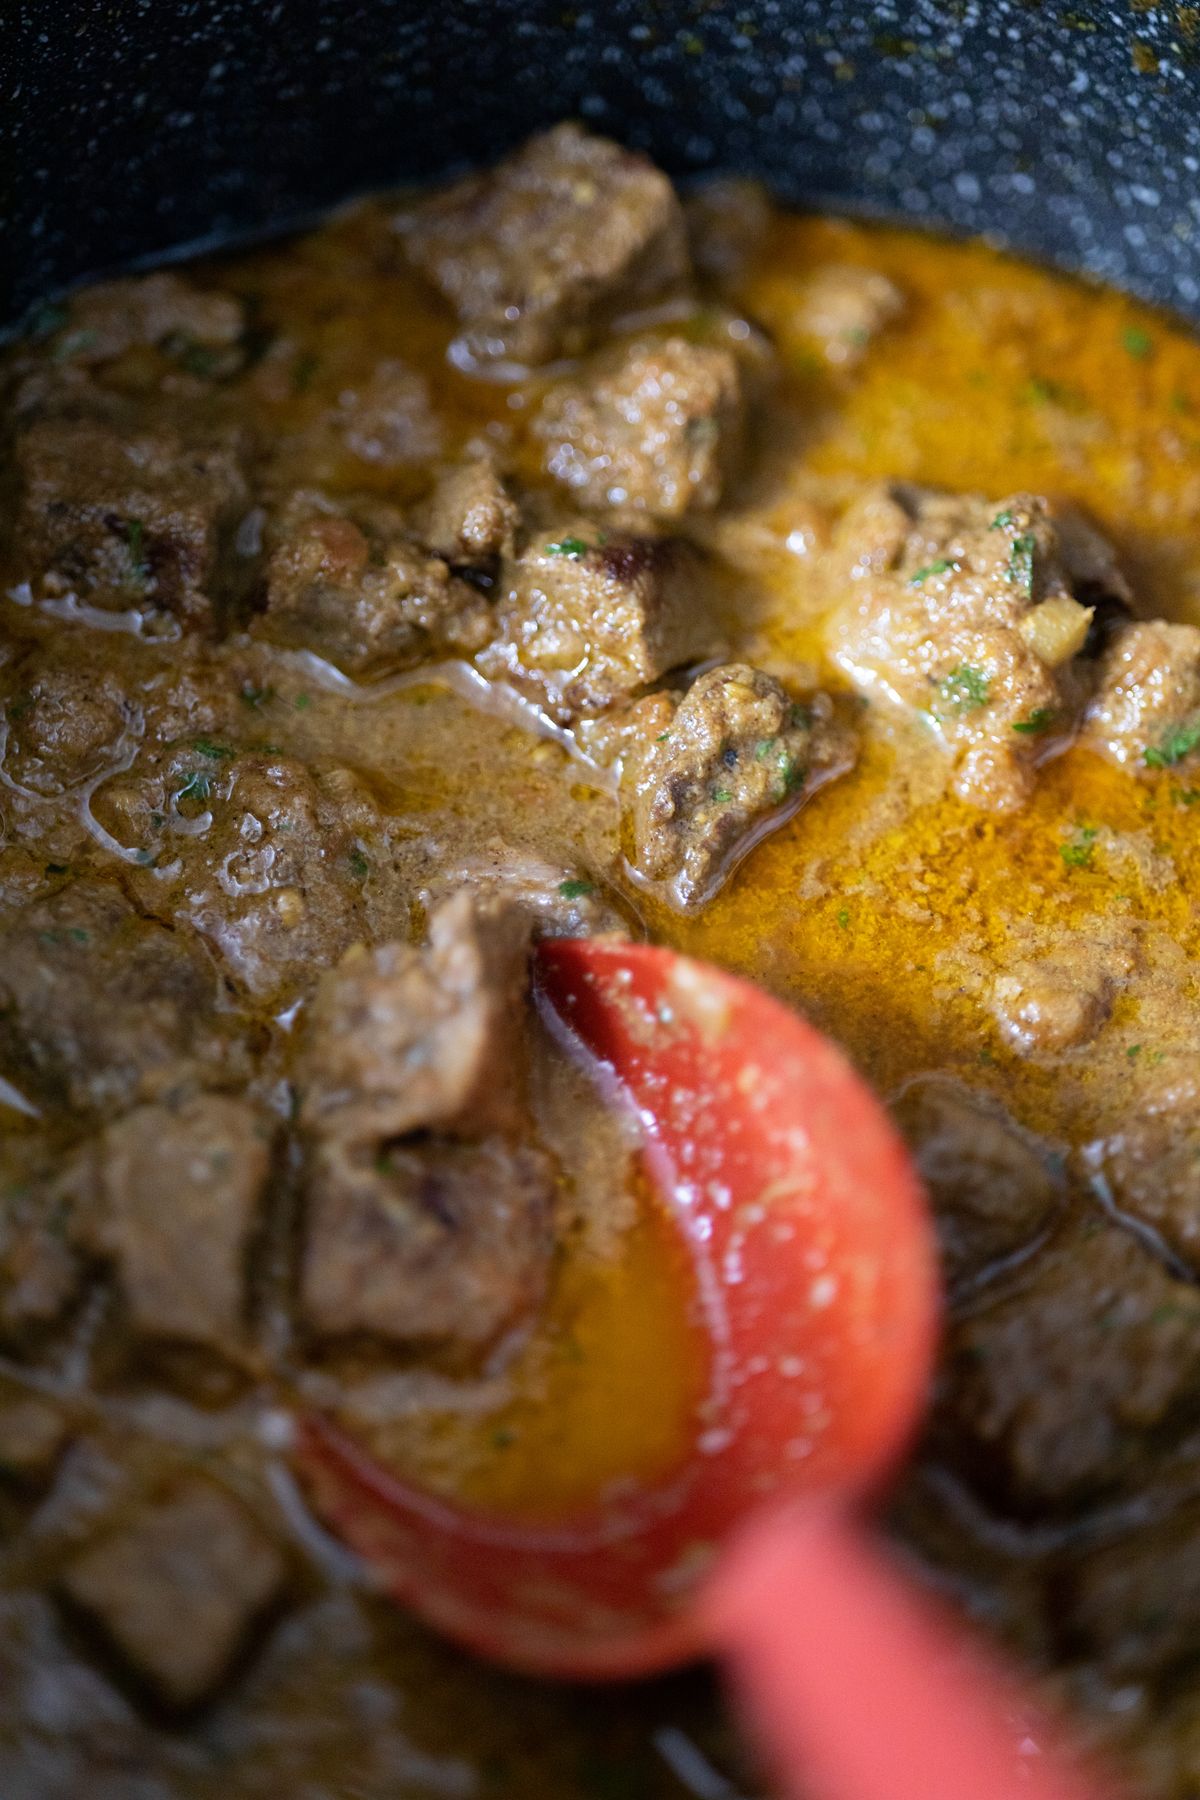
Watch the whole method in real time
Cook time by beef cut (the actual variable)
Not all “stew meat” is the same. Pre-cubed grocery-store packs usually contain a random mix of round, sirloin and chuck trimmings — the round pieces will always be dry no matter how long you cook them. Buy a whole chuck roast and cube it yourself; the muscle grain runs in one direction and the collagen ratio is consistent.
| Cut | Pressure time | Notes |
|---|---|---|
| Chuck roast (best) | 35 min | Perfect balance of collagen and fat |
| Beef shank (best-best) | 45 min | Bone-in adds body — cut into 2-inch pieces |
| Short rib (bone-in) | 40 min | Richest flavor; degrease the sauce after cooking |
| Bottom round | Not recommended | Turns chalky no matter the time |
| Sirloin tip | Not recommended | Same problem — too lean for stew |
The three mistakes that ruin Instant Pot stew
Storage, freezing and second-day flavor
Beef stew is one of the rare dishes that tastes better the next day. The gelatin sets slightly, the flavors marry in the fridge, and the reheat browns pieces further. Store in an airtight container for up to 4 days. Reheat in a covered pot over low heat for 10 minutes, adding a splash of broth if it thickened past sauce into paste.
Freezing is honest: potatoes go slightly mealy after thawing (they always do). If you’re batch-cooking for the freezer, cook the base without potatoes, then add fresh boiled potatoes on reheat. Otherwise, freeze in single portions up to 3 months — thaw in the fridge overnight, then reheat in a covered pot with 2 tablespoons of broth per cup.
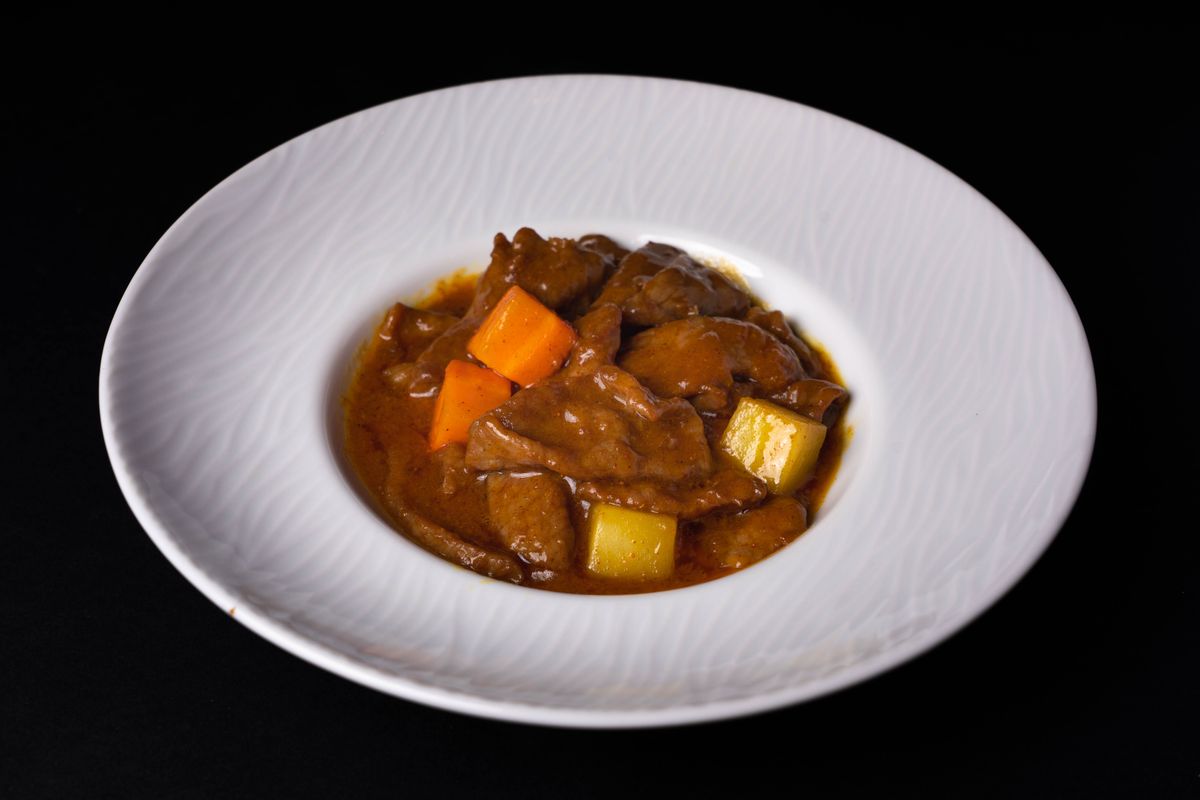
Real swaps and upgrades
Guinness for half the wine gives it a British pub-stew edge (add 1 tsp brown sugar to balance the bitterness). A parmesan rind dropped in with the broth adds savory depth and dissolves by the end. Two tablespoons of soy sauce alongside the Worcestershire pushes umami further. If you want the same one-pot comfort in an Asian direction, our 15-minute beef teriyaki uses a similar sear-plus-glaze move.
For vegetables, parsnips instead of half the carrots taste distinctly better in this dish. Mushrooms should be sautéed separately and added after pressure cooking — otherwise they release water and dilute the sauce. Pearl onions go in whole with the potatoes. Skip celery in the pressure cooker; it turns to strings.
Common questions
What’s the actual pressure cook time — 30, 35, or 40 minutes?
35 minutes is the sweet spot for 1½-inch chuck cubes with a 10-minute natural release. 30 minutes leaves the beef slightly chewy at the center. 40 minutes crosses into shreddy territory — good for a stew you want to eat with a spoon and no knife. If you cube larger (2-inch), bump to 40. Smaller (1-inch), drop to 25.
Can I use frozen beef?
Yes, and cook time stays at 35 minutes — pressurization takes 5 minutes longer, which effectively defrosts it. Skip the sear step; frozen beef won’t brown. You’ll lose some flavor depth but gain 12 minutes. Add 1 extra tablespoon of tomato paste and 1 tsp Worcestershire to compensate for the missing fond.
Why is my stew too thin?
Pressure cookers don’t evaporate liquid, so this is guaranteed unless you thicken at the end. The cornstarch slurry at step 6 is the standard fix. If you’ve already added it and it’s still soupy, mix in another 1 tbsp cornstarch with 2 tbsp cold water and repeat. Cook on Sauté 3 more minutes.
Do I need to sear if I’m using ground beef?
You wouldn’t use ground beef for actual stew — the texture is wrong. If you’re making a beef-noodle-vegetable soup with ground meat, brown it fully on Sauté first, drain the grease, then proceed. For real stew, spend the 8 minutes on the sear; there’s no shortcut around it.
What’s the best side for beef stew?
Mashed potatoes are the traditional move (or serve it directly over them). Crusty sourdough or biscuits work. If you want a lighter contrast, a simple green salad with sharp vinaigrette cuts the richness. Or go all-out and add a batch of our Irish soda bread paired with corned beef and cabbage for a full comfort spread.
The bottom line
Forty-five minutes, six real techniques doing the work: sear for color, toast the tomato paste for depth, deglaze so nothing burns, layer the vegetables so they don’t turn to mush, natural-release so the beef stays intact, and cornstarch slurry to give the sauce body. Skip the sear and you’ve made pot-roast soup; do the whole thing and there’s no reason your Sunday stew can’t happen on a Tuesday. Serve alongside our viral French onion meatballs for a big-group dinner or eat it straight from the bowl.
Did You Try Our Recipe ?
Chicken hears and gizzards
I would love you to send me the recipe please. I have no printer to print it off. [email protected]
Response from MeatRecipesBox
Hi Sharon, thank you so much for your kind words! I’ve just sent the full recipe to your inbox. Enjoy, and let me know how it turns out! 😊
Scrumptious
My husband (who is extremely picky) loved the liver & onions so much!! I didn’t have any beef broth or Sherry so I used about a tbl of Worcestershire and 1/4 c of white wine …..it was scrumptious
Response from MeatRecipesBox
Oh wow, I’m so happy to hear that!! 😍 I love that you made it work with what you had on hand — Worcestershire and white wine sound like a delicious twist. So glad your husband enjoyed it, especially being picky! Thank you for sharing your version, it makes me smile knowing it turned out scrumptious!
This was amazing
This recipe turned out really amazing! It’s juicy and spiced deliciously. I definitely would use less of the spicy pepper next time, but it really was delicious and I don’t think I’ll make chicken legs any other way from now on.!
Response from MeatRecipesBox
Thank you for taking the time to leave such a thoughtful review. I’m really glad to hear the recipe turned out juicy and full of flavor for you. That’s exactly what I was hoping for when putting it together. Good call on the spicy pepper as well. Adjusting the heat level to your own taste is always the best approach, and using a little less next time should make it just right for you. I really appreciate you trying the recipe and sharing your experience. It’s great to know it worked so well for you.
I Didn’t Expect This Cornbeef Hash Recipe to Taste This Good!!
One skillet. A handful of simple ingredients. Thirty minutes on the clock. And somehow… I ended up with the crispiest, most comforting cornbeef hash recipe I’ve made in years.
I wasn’t expecting much—just a quick, no-fuss meal. But that first bite? Crispy edges, tender potatoes, smoky corned beef, a little kick of pepper. It tasted like something straight off a cozy diner griddle.
Honestly, it caught me off guard—in the best way. Here’s why this simple skillet completely won me over.


